
While art isn’t a major subject in regular school, it’s a subject that my kids showed tremendous interest in since they were younger. Back then I would come home from work and would see my kids’ artworks taped on the ref’s door. Sometimes they would wave their art on my face, proud of their work. Since the interest was obviously there, now that we are homeschooling, I figured it was now my job hone their skills as well as mine if I were to teach them.
On our first year of homeschooling in 2019, I used the book by Usborne that my son got for Christmas in kindergarten. We were able to produce artworks using whatever materials we had on hand at the time with the help of the book. One of the best things that came out of that experience was my discovery of watercolor.

During the start of enhanced community quarantine last year, a number of artists (generous souls might I add) offered free online classes on social media. We were lucky to have been able to attend some of them because these classes also gave me ideas on how I would teach art to my kids this school year. Aside from these online classes, I also explored so many YouTube videos and was able to narrow down our favorite channels for basic painting to three (more on this later).
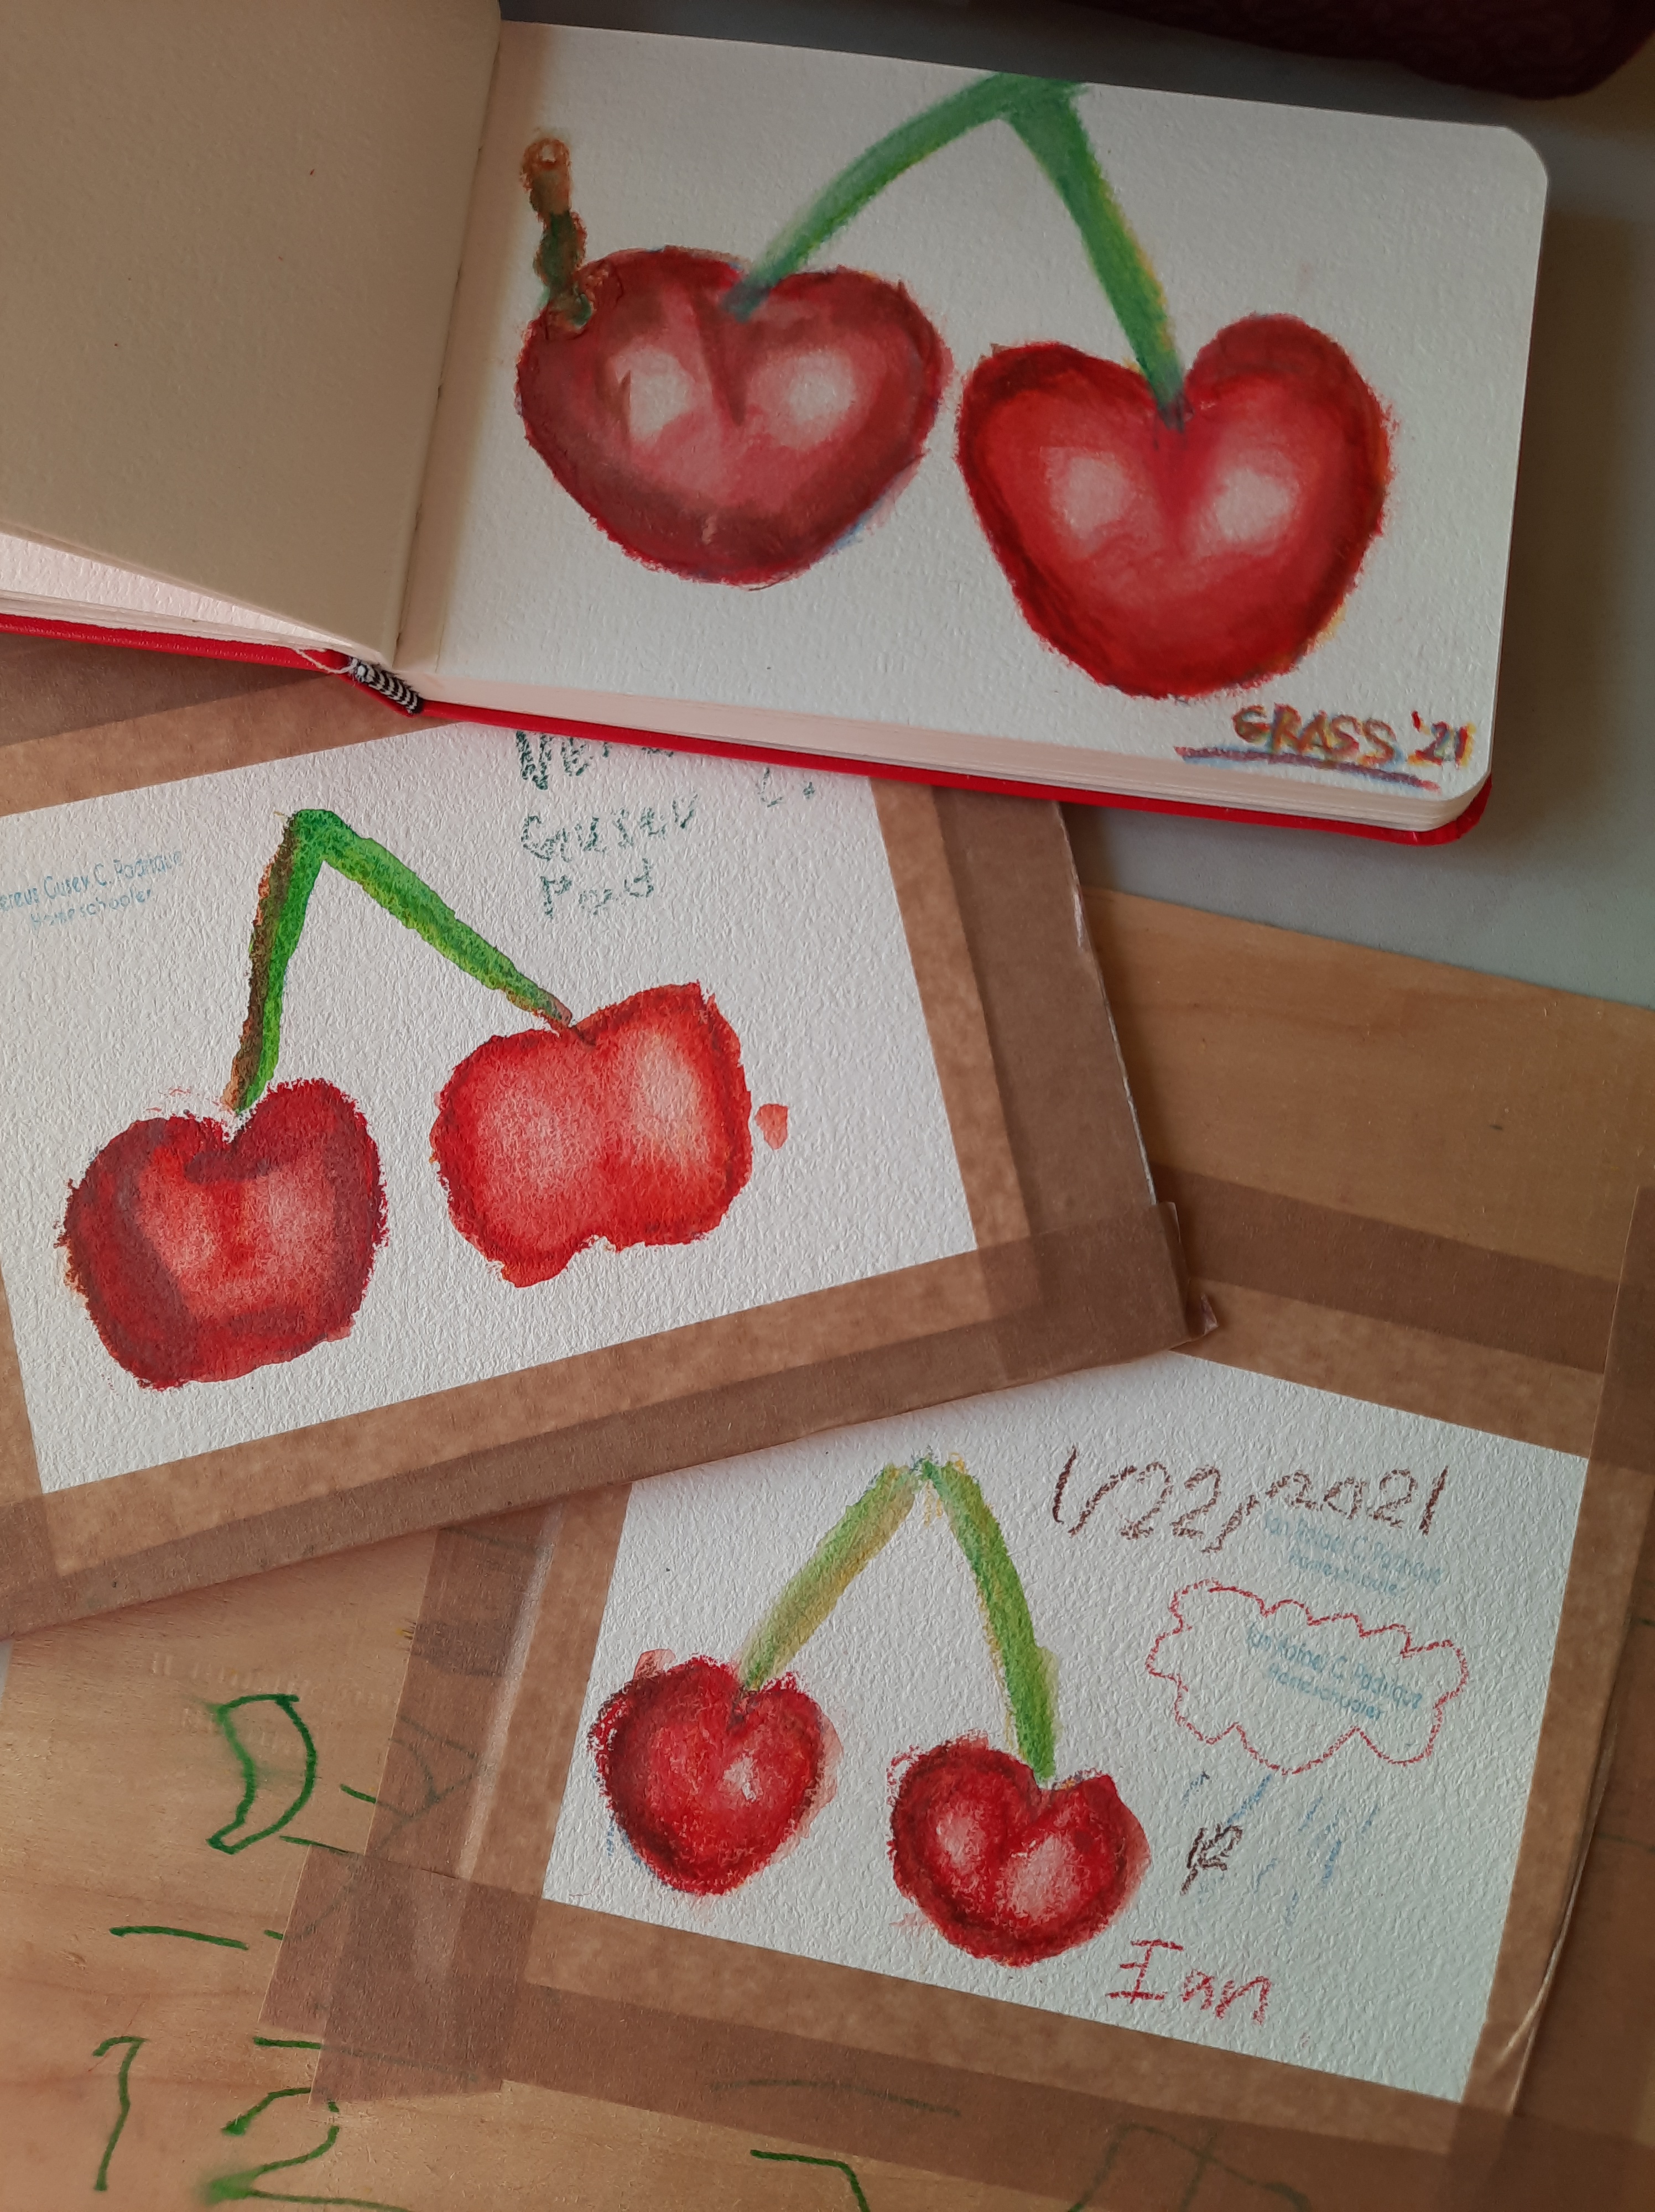
In this post, I’m going to share my favorite YouTube channels, app for workshops, and art materials that non-artist parents can explore in order art with their kids. But first, I want everyone to knows that art should be done in a space of “non-judgement” and “limitless imagination”. When my kids paint, I make sure they don’t compare each other’s work. This way, they are not limited by the instructions on tutorials and can add their own flare or signature/favorite color. Take this latest art my kids and I did recently for example. My youngest son added a cloud and rain drops beside his cherries which does not make sense to me but it was okay. He often adds flare to his artwork by drawing stick man with thought bubble to boot. It’s his way of signing his art pieces and I am totally okay with it!
Tools for Painting and Sketching
First, let’s go over the tools that you need for your sketching and painting sessions. Do take note that I’m including some links here to my Shopee store – the earnings from which I use to maintain this website. In order to sketch and paint, all you will need are decent student or artist grade pencils and paints. I personally enjoy working with artist grade watercolor paints as they are highly tinted and vibrant but the caveat is that they can be very expensive. If you want to save on costs, you can get Tokyo Finds primary colors (student grade) that comes with water brush. This set in my Shopee store already comes with a watercolor journalso you can put your kids’ work in one place. You can also buy art materials in National Book Store such as watercolor pencils, acrylics, gouache, and watercolor tubes. If you’re abroad, I’m sure you can get art materials on any art and school supplies store near you. If you’re not sure about brands, I can recommend Prang for student grade watercolor.

For pencils, any HB, B, and H pencils will do. I prefer using Blackwing pencils which are available in National Book Store as well. If you would like to explore color pencils, I am using watercolor pencils by Derwent Inktense which I got from my favorite Shopee store, as well as Faber Castell’s.
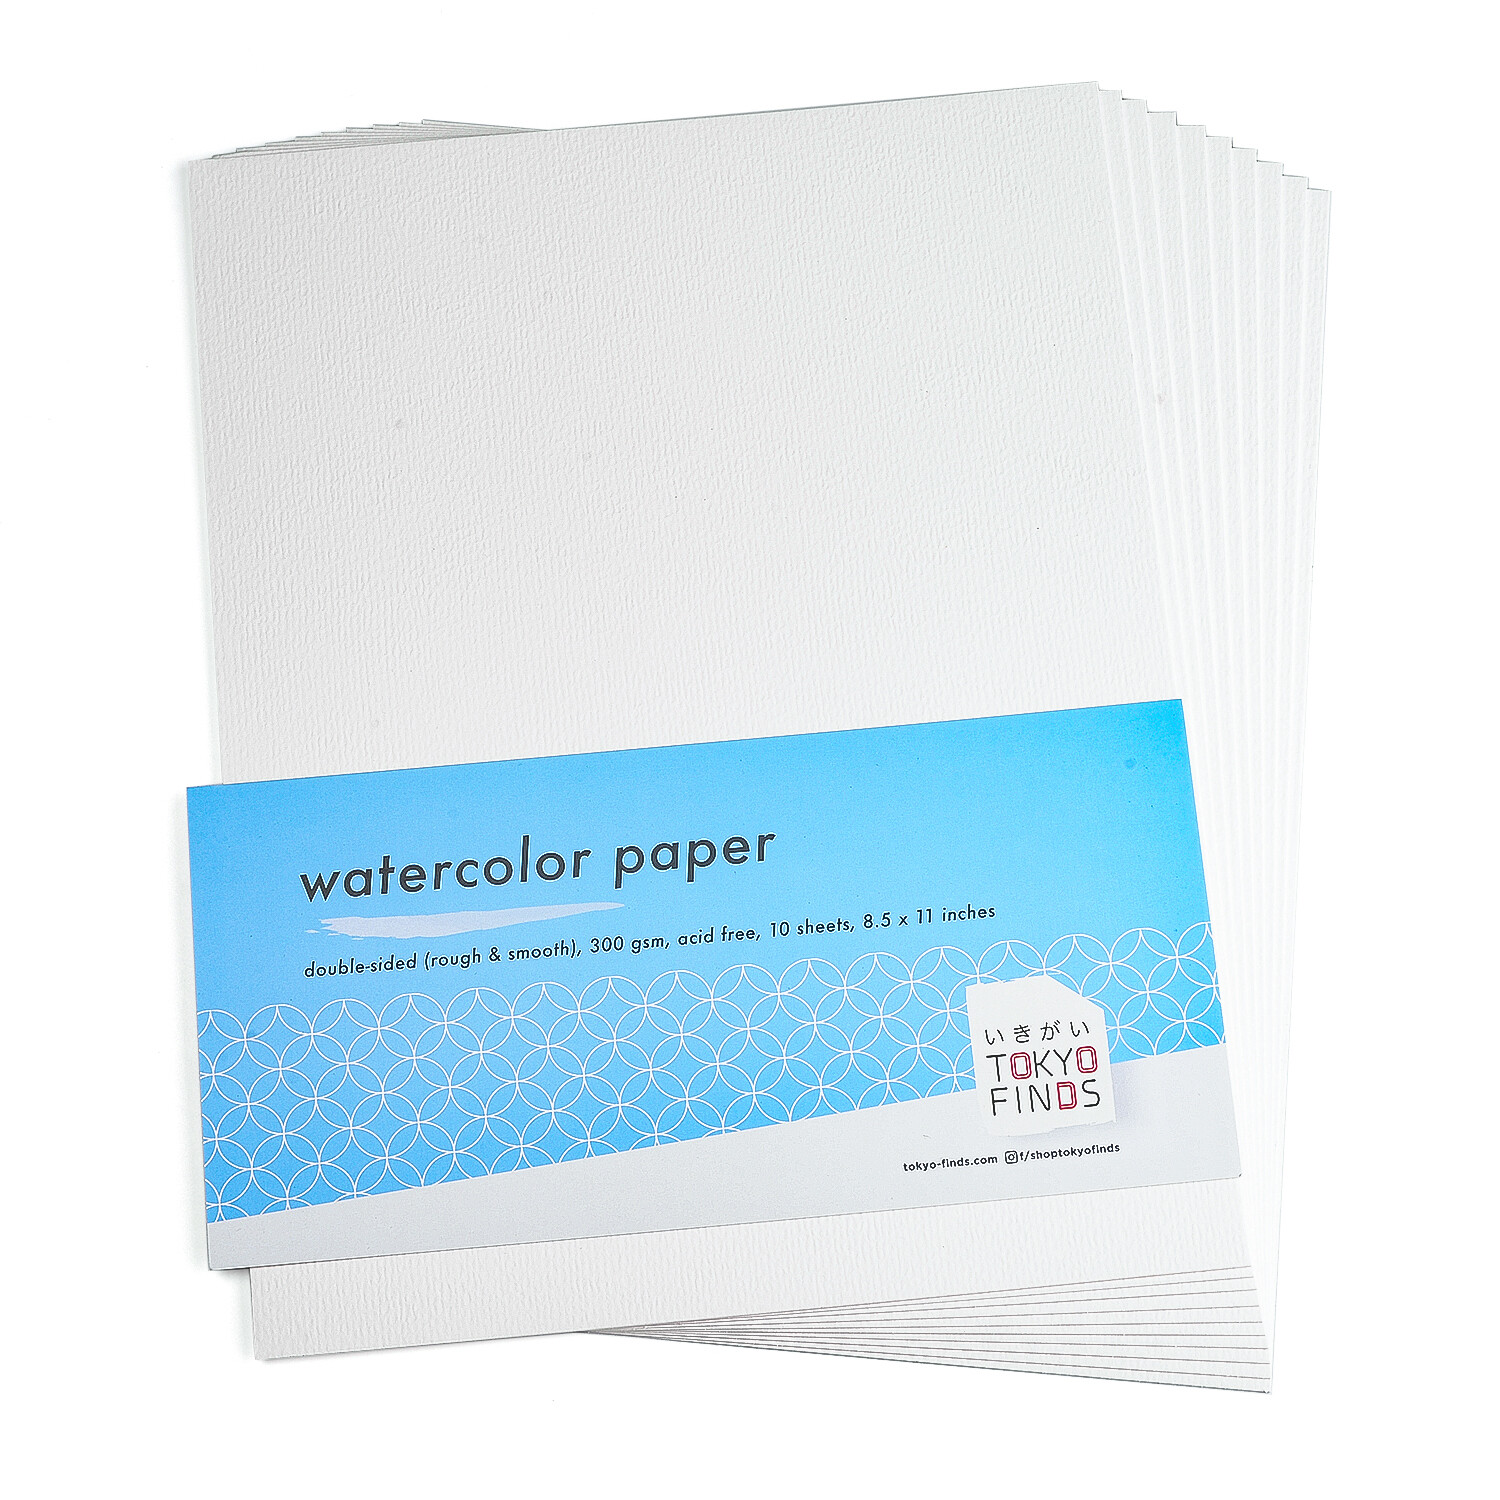
If you want to explore watercolor in particular, you’d need to use watercolor papers as ordinary ones will only degrade quickly due to water. For beginners, you can use the ones by Tokyo Finds which are available in white and black . We use black paper for metallic colors and gouache because these are opaque paints.
If you want to try artist grade watercolor papers, the ones by Baohong, my current favorite, are highly recommended by fellow watercolorists. Make sure you buy the artist grade, 100% cotton, cold-pressed. When using watercolor papers, you will need to tape it down on a stiff board using a craft paper tape or masking tape so it does not warp while you are painting. For brushes, you can start with Scrivo round brushes size 12, 10, and 6 which you can also buy from National Book Store.
Aside from the papers, paints, and pencils, you would need a mixing palette where you mix your paints. You may use any white ceramic or resin palettes. One of the artists I follow on Youtube uses butcher tray when mixing watercolor. My shop also has mixing palette that’s good enough for watercolor or gouache tubes because it’s compact and thus, perfect for when you travel and want to paint en plein air (outdoors).
Learn How to Draw Simple Subjects
Okay, I did say this article is for non-artist like I was – parents who couldn’t draw nor paint to save their lives (LOL). But there’s a hack in learning how to draw – by breaking down objects into simple shapes such as square, circle, oblong, well, you know the rest of them. One artist I follow once said, “If you can draw a circle, you can definitely paint!”. I totally agree. There are ways to develop the muscle memory for drawing or sketching objects. What worked for me was to watch videos on YouTube, SkillShare, and did drawing exercise using my kids’ art books. We’ll talk about Youtube and SkillShare in a bit.
Another way you can develop the muscle memory is by sketching objects at home. Take note of how the light hits the object (highlights), where the light is lower (middle tone), and the shadowed areas (dark tone). If you’re confused by this already, don’t worry, the tutorials from the Youtube links below will discuss them in every video they post.
There’s another way you can learn to draw objects, animals, landscapes, etc. It’s by printing reference photos and tracing them. This may sound like cheating but you can trace objects over and over again until you get the hang of sketching that you can eventually sketch them from memory. There are ways to trace photos but the simplest way is using a graphite paper. You lay a graphite paper behind the picture you want to sketch, and put your art paper at the very bottom. If you don’t have a graphite paper – you can tape the reference picture against a flat glass window where the day light comes in and tape your art paper/watercolor paper on top of it. Then, trace the reference photo using a pencil where the light hits the lines and curves. You can get more ideas by visiting this Skillshare course by Kendyll Hillegas, an artist and illustrator, about how to transfer images into art paper.
My Top Recommended Youtube Channels for Sketching and Painting
My favorite channels for sketching and watercolor painting are listed below in no particular order. I have chosen these channels based on simplicity of projects and the instructions are easy enough for my 6th and 2nd graders to understand.
What I love about her is that she teaches how to sketch the subject by breaking it down into simple shapes. Her tutorials are newbie-friendly because she also mentions the colors she uses before she paints as well as how to mix 2-3 paints to get a certain color. She likes to paint wet on dry as well – again, newbie-friendly.
You can also find Nianiani on SkillShare (more on this app below). Here are some of the projects I’ve done using Nianiani’s tutorials. The Tropical Beach project was such a hit among my friends!

Snake Plant 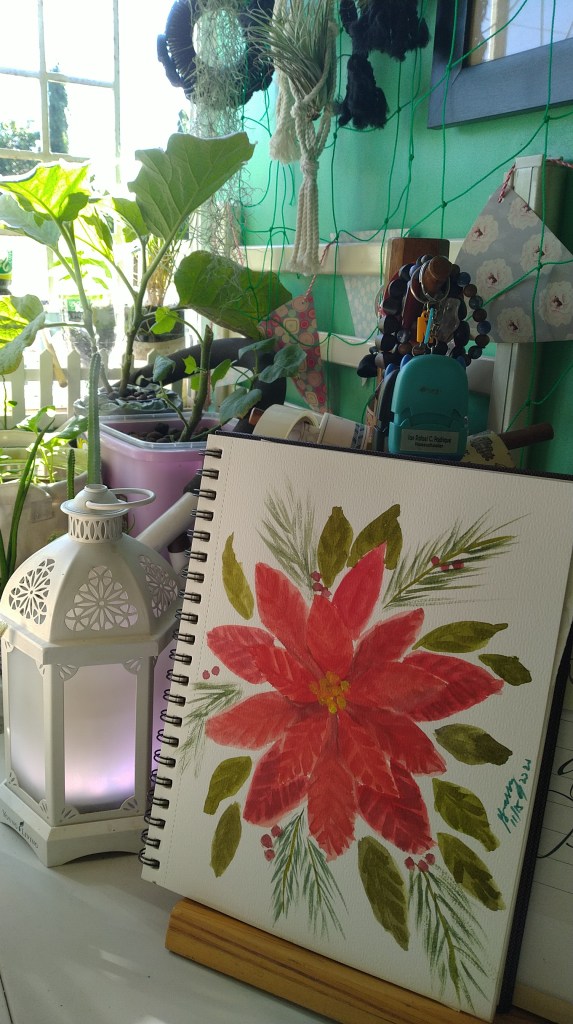
Poinsettia 
Golden Pothos 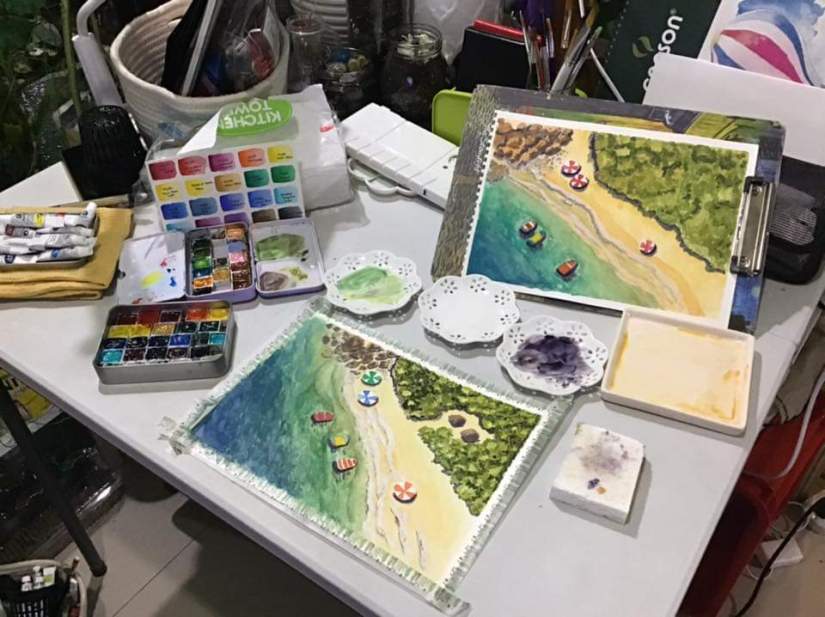
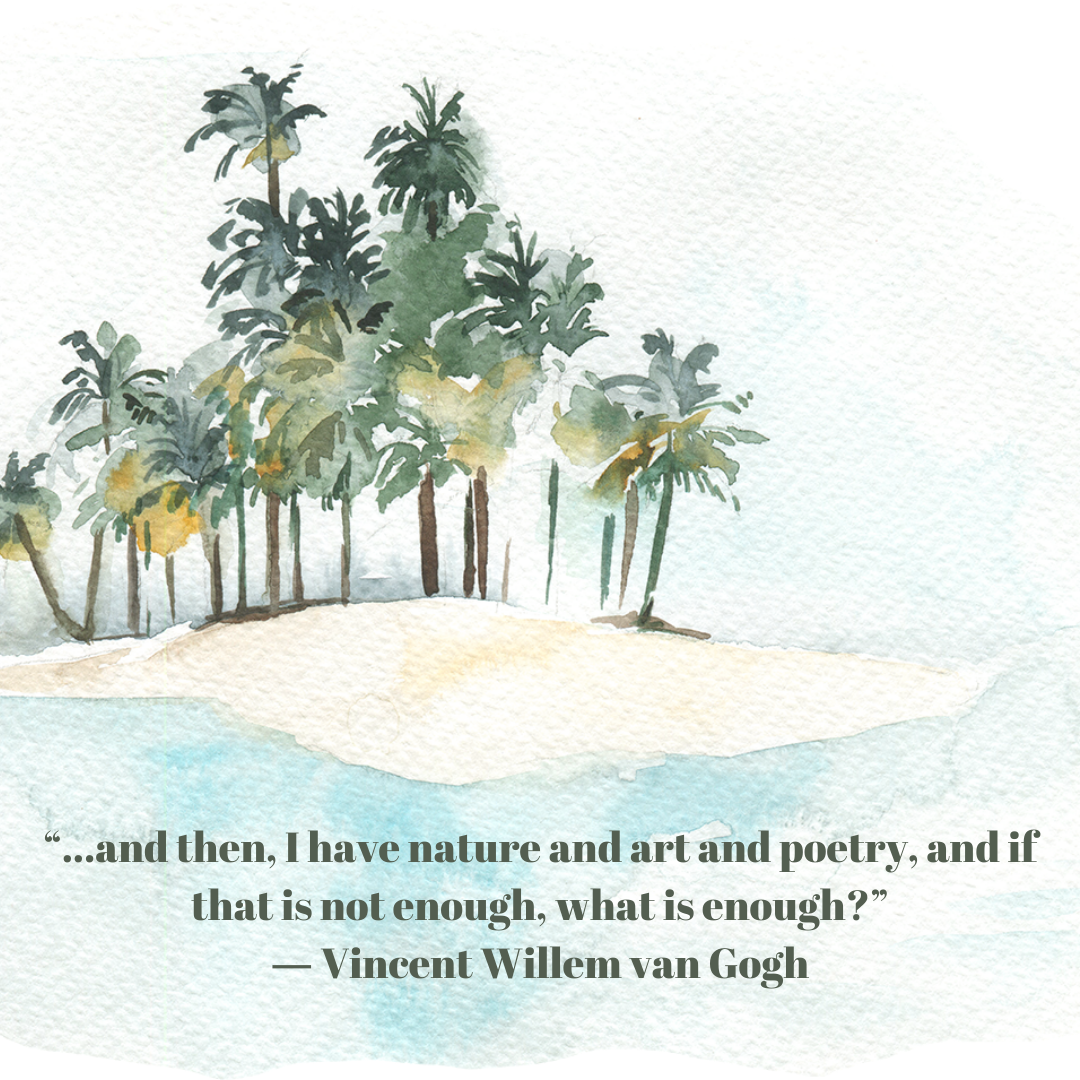
Tropical Beach 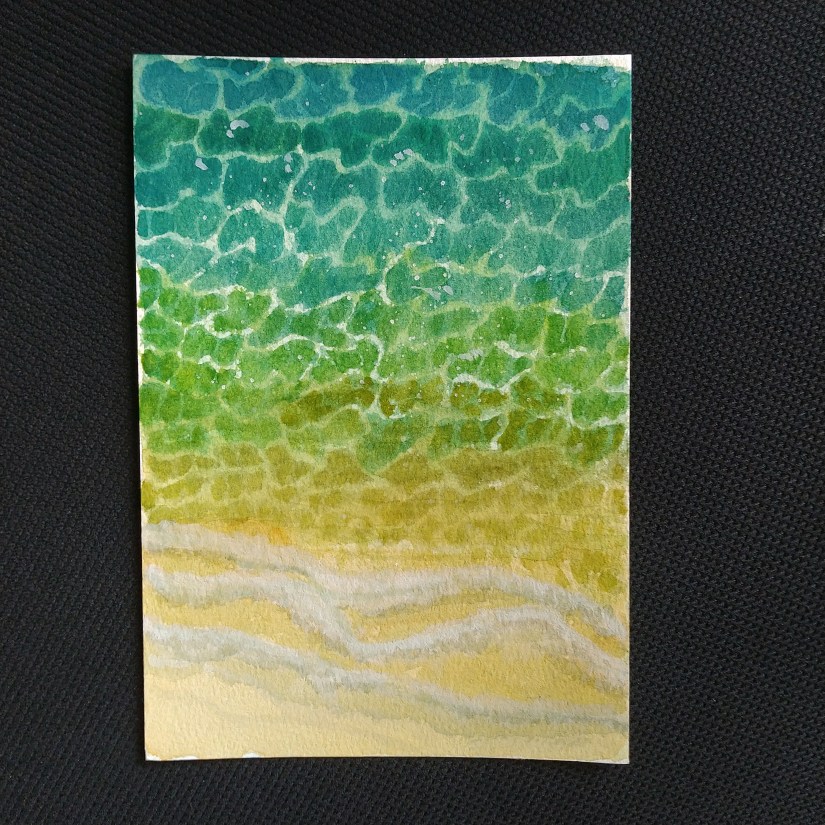
Sparkly Shoreline
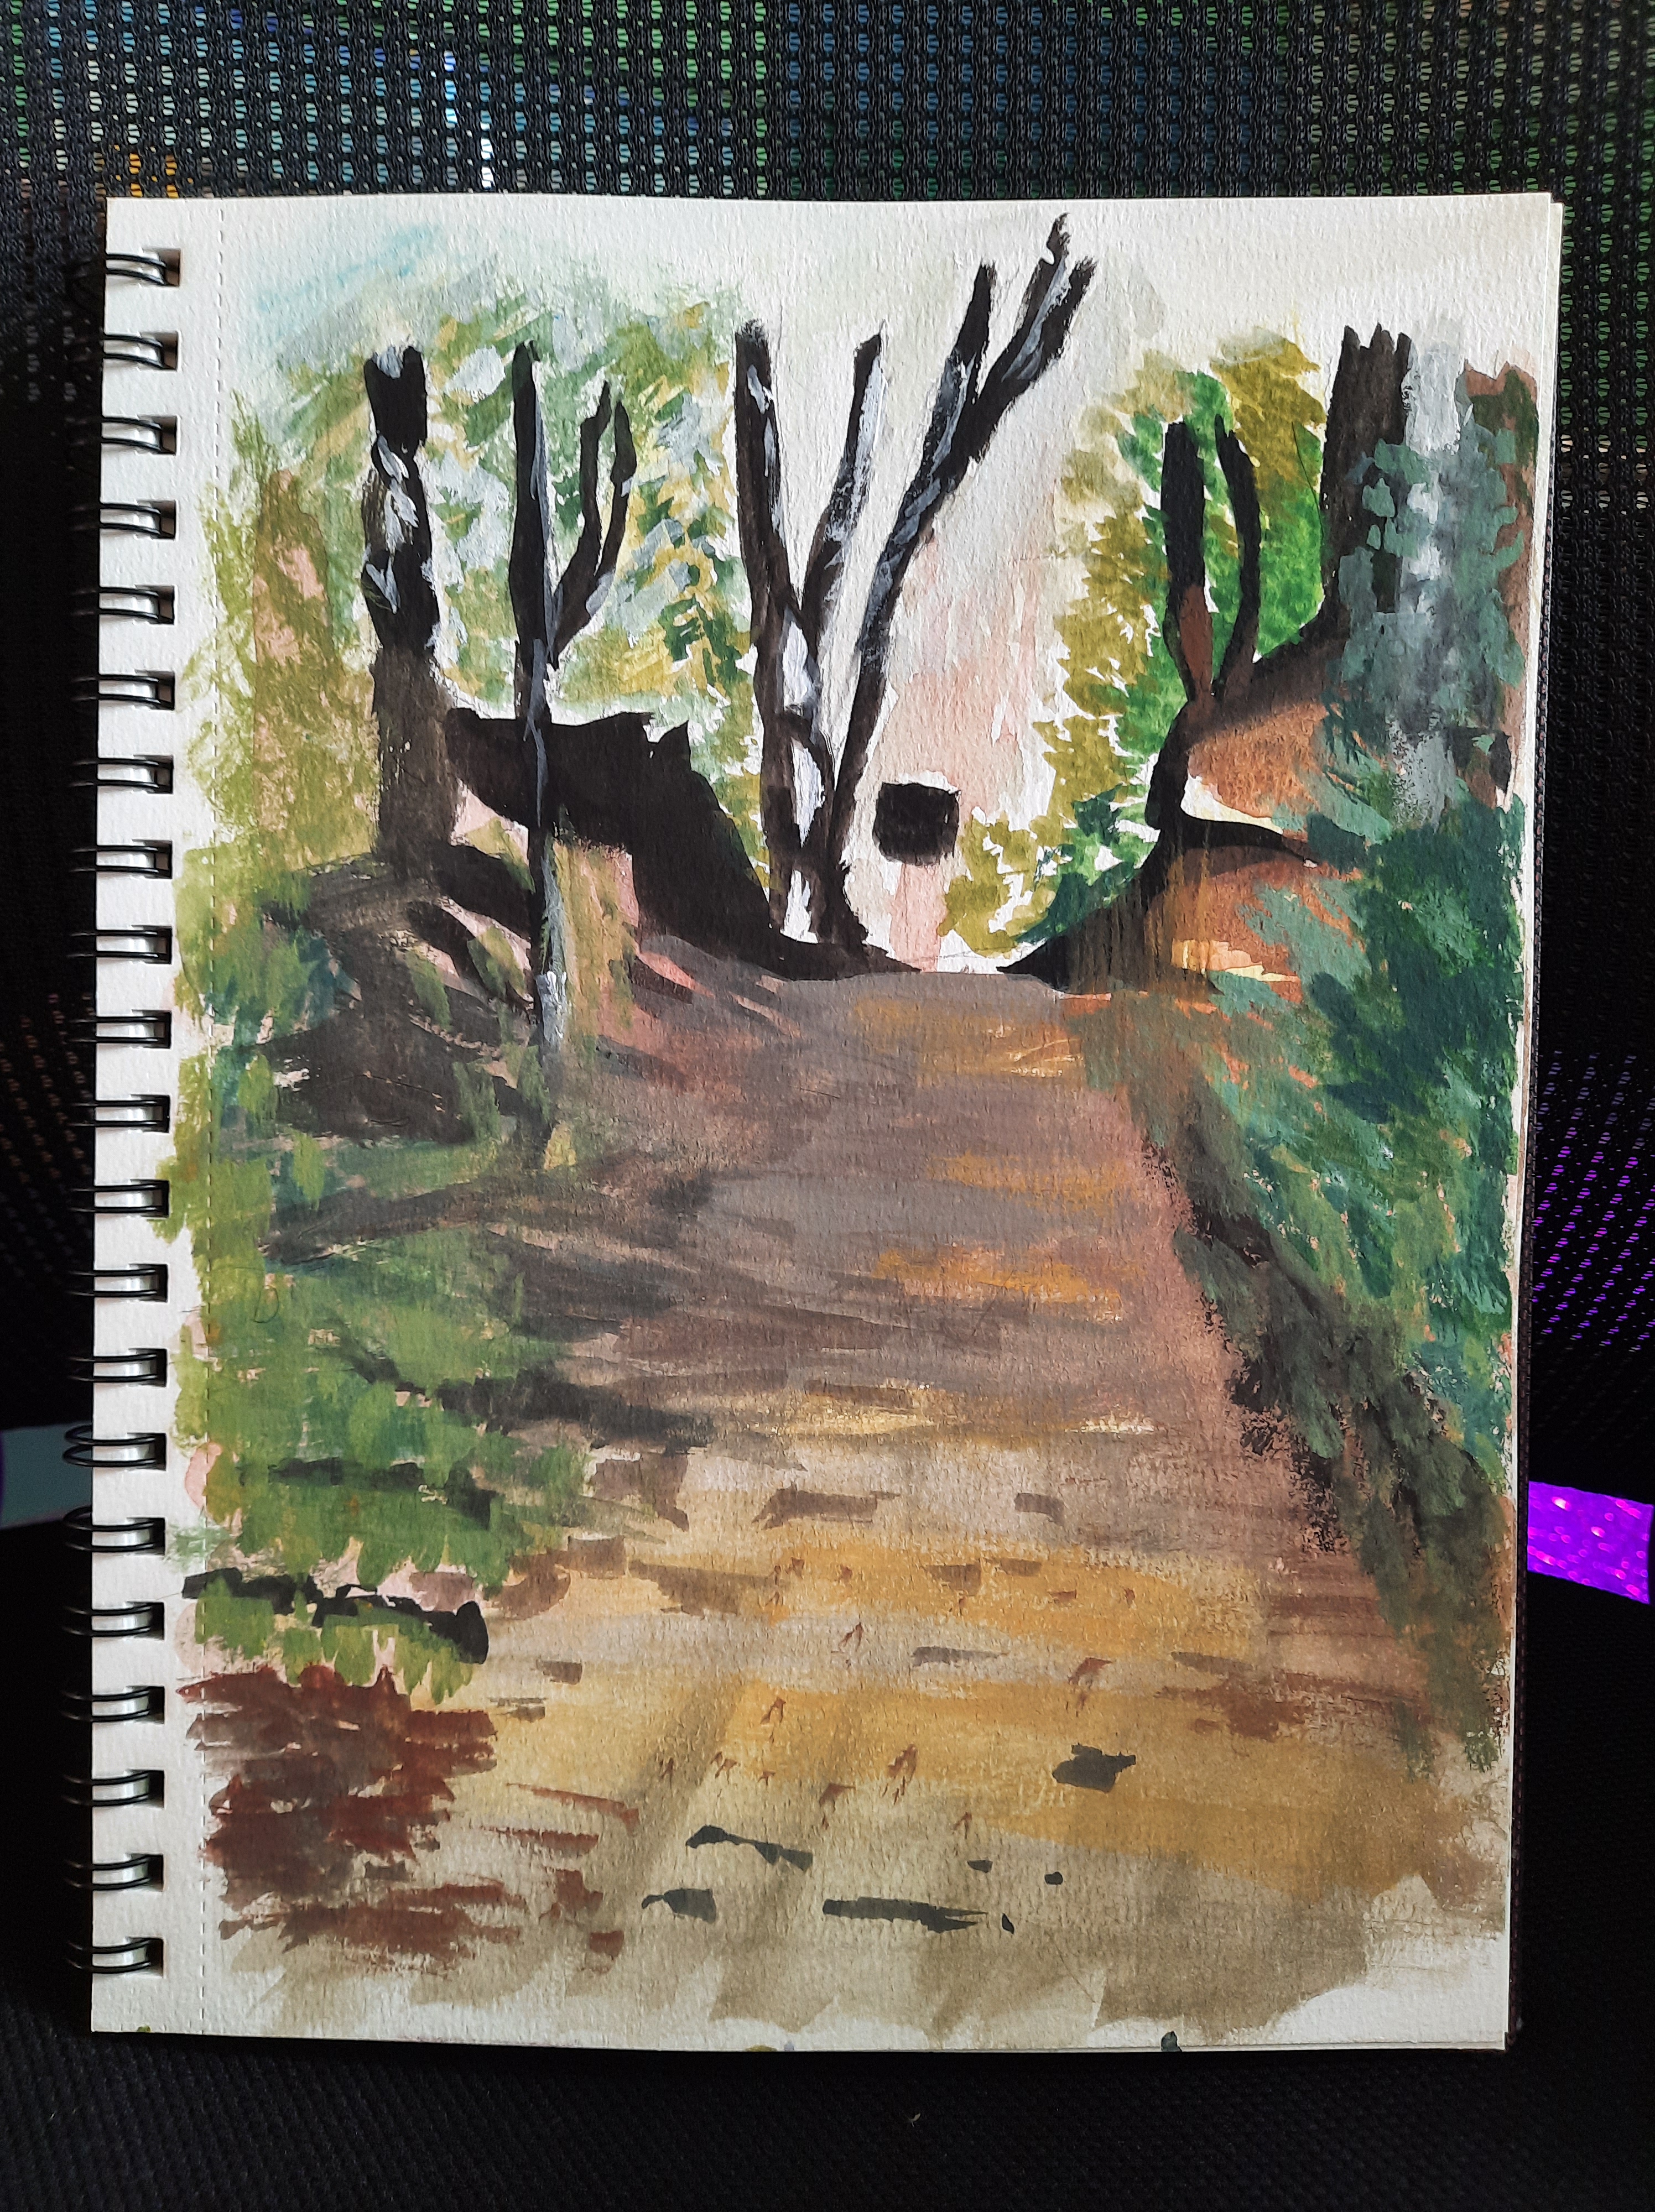
Myriam is another one of my favorite artist mentors on YouTube for gouache painting as well as bullet journaling. This painting of a pathway in the middle of the woods (photo above) may look complicated and daunting for those who are new into painting but believe me, Myriam was able to break this subject down into simple steps, I was surprised by how well this first gouache painting turned out. Her tutorial on how to paint this one is worth a try! I painted this art using our set of Himi Miya gouache.
My kids absolutely love watching tutorials by Let’s Make Art (LMA) which we do every Art Day Friday. LMA is, for me, the best channel out there for those who are new to art making. This is the channel to learn colors, hues, and values, as well as, sketching. Aside from teaching how to create values and mix watercolors, the channel has tons of free downloadable templates on their website. Remember me mentioning about “tracing” earlier? You can use the same technique by printing LMA’s templates and tracing them onto your watercolor paper using a graphite paper and pen. You can then learn how to paint each project through the videos in their Youtube channel. Below are just some of the paintings we made using LMA’s templates and tutorials:


If you want to download their templates, you’d need to sign up at their website and checkout the free templates (they won’t cost a thing). They will then send the templates to your email. If you want to order their kits via subscription, you are also welcome to purchase them through the website. Please take note that I don’t earn anything from recommending LMA. I just love their advocacy of teaching art to everyone and my kids love them so this is my way of paying it forward. If you would like other newbie artists to support you in your art journey, do join LMA’s group on Facebook. You can post your works in there too!
Recommended App to Download
You can step-up and develop your artistic skills by attending workshops via SkillShare. I am currently attending workshops on how to sketch figures and portraits on this platform. But there are plenty of workshops to choose from including aromatherapy, soap making, photography, digital marketing, machine learning, and more! By clicking the link above, you get a 14-day free trial of the app when you do sign-up and if you’re not happy with it, you can cancel anytime before the 14th day. Subscribing is actually cheap. I paid only 1, 200 Philippine pesos per year or 100 pesos per month for limitless download and streaming of the workshops. You really get the bang for your buck with this app that is why I am recommending it here.
Final Words of Encouragement
Learning art with my kids is my favorite bonding session with them. I’m most specially thankful for these YouTube tutorial videos on days when I would be too busy with household chores and work. I leave my kids to watch these channels and have them paint to their hearts’ content. Art has saved us from the insanities that this pandemic has brought on us as well.
Also, on days when I have artist block, it’s helpful for me to diffuse my favorite calming essential oils to get me in the “artistic” zone. Here’s a video I made about how I diffuse my top three favorite oils to get me in the zone as well as a peek into my worktable, my painting tools, and my creative works. Shameless plug, if you would be interested to buy essential oils kit that comes with diffuser and 11 pure essential oil bottles, do sign-up using my personal link at Young Living and use my member ID number 12647452 as SPONSOR and ENROLLER. The commissions I get from Young Living whenever I sign-up new members help maintain this website.
Hope you learned a lot from this article. I will definitely share to you my tips as I go along with my painting journey. With that said, hope you will find art as engaging and relaxing as me and my kids do.
xoxo,
Grass
Discover more from The Fabulous Scientist
Subscribe to get the latest posts sent to your email.

5 thoughts on “My Top Art Teaching Hacks for Non-Artist Homeschooling Parents”