

Your 30 Philippine pesos (about 60 US cents) will go far and your kids will learn a ton! Read below to find out how.
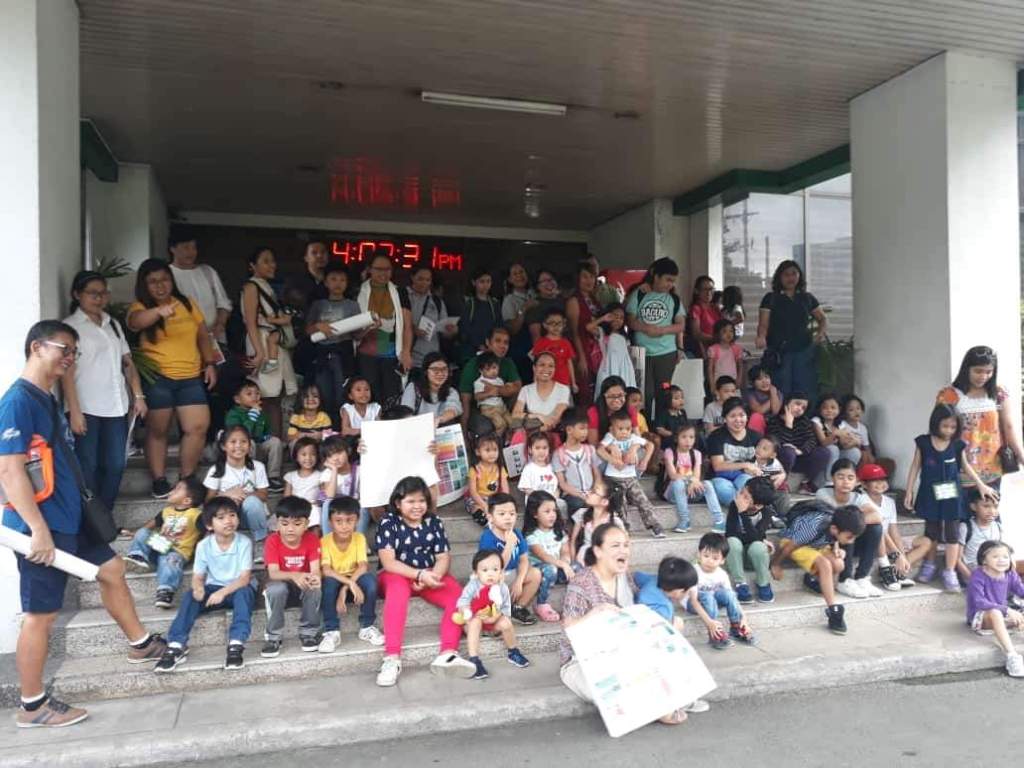
Last August 29, our homeschooling group Sulit Tipid at Pinoy Homeschooling (STPH) decided to conduct a Science tour that is open to its members. The main objective of the Science Tour was mainly as an opportunity for the members and the kids to personally meet as well as visit the government offices, Philippine Volcanology and Seismology (PHIVOLCS) and PAGASA Weather Division and Planetarium. One of the missions of STPH is to find ways to homeschool the children by getting the best learning experience at minimal cost. The mommies of STPH-QC chapter hosted the Science Tour in Quezon City by sending out letters to these government offices and organizing the participants during the visits. In less than a month, our local coop was able to reserve the date to visit both offices in one day!
Why visit PHIVOLCS? The recent earthquake has naturally worried some of of us especially since we’ve known for quite some time now that the Big One was due to happen anytime. It never hurts to know more about earthquakes, tsunami, and volcanoes, especially when our country is quite prone to these geologic hazards. The information we can get from PHIVOLCS can also help us prepare properly before a disaster strikes and the things we need to do after one. When you plan to visit PHIVOLCS, you can request access to the following activities:
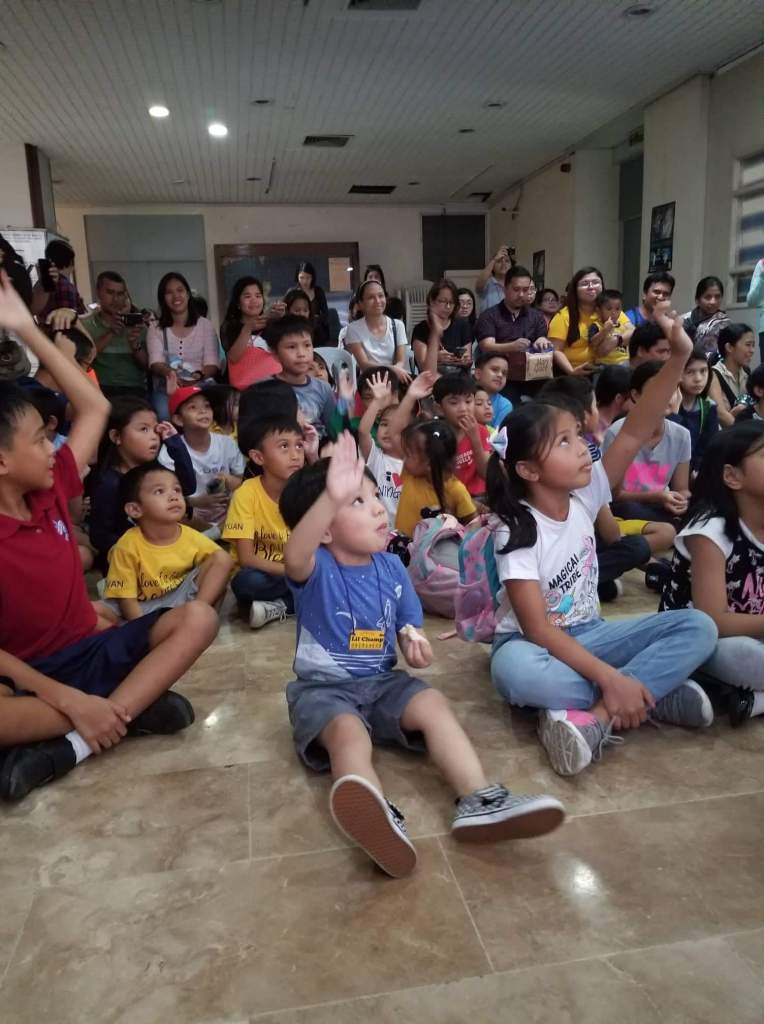
- Watch about the history of PHIVOLCS, different types of geologic hazards, and other geology-related videos inside their audio visual room which can accommodate up to 200 people. You need to specify what age group is the participants to help PHIVOLCS decide which videos to show.
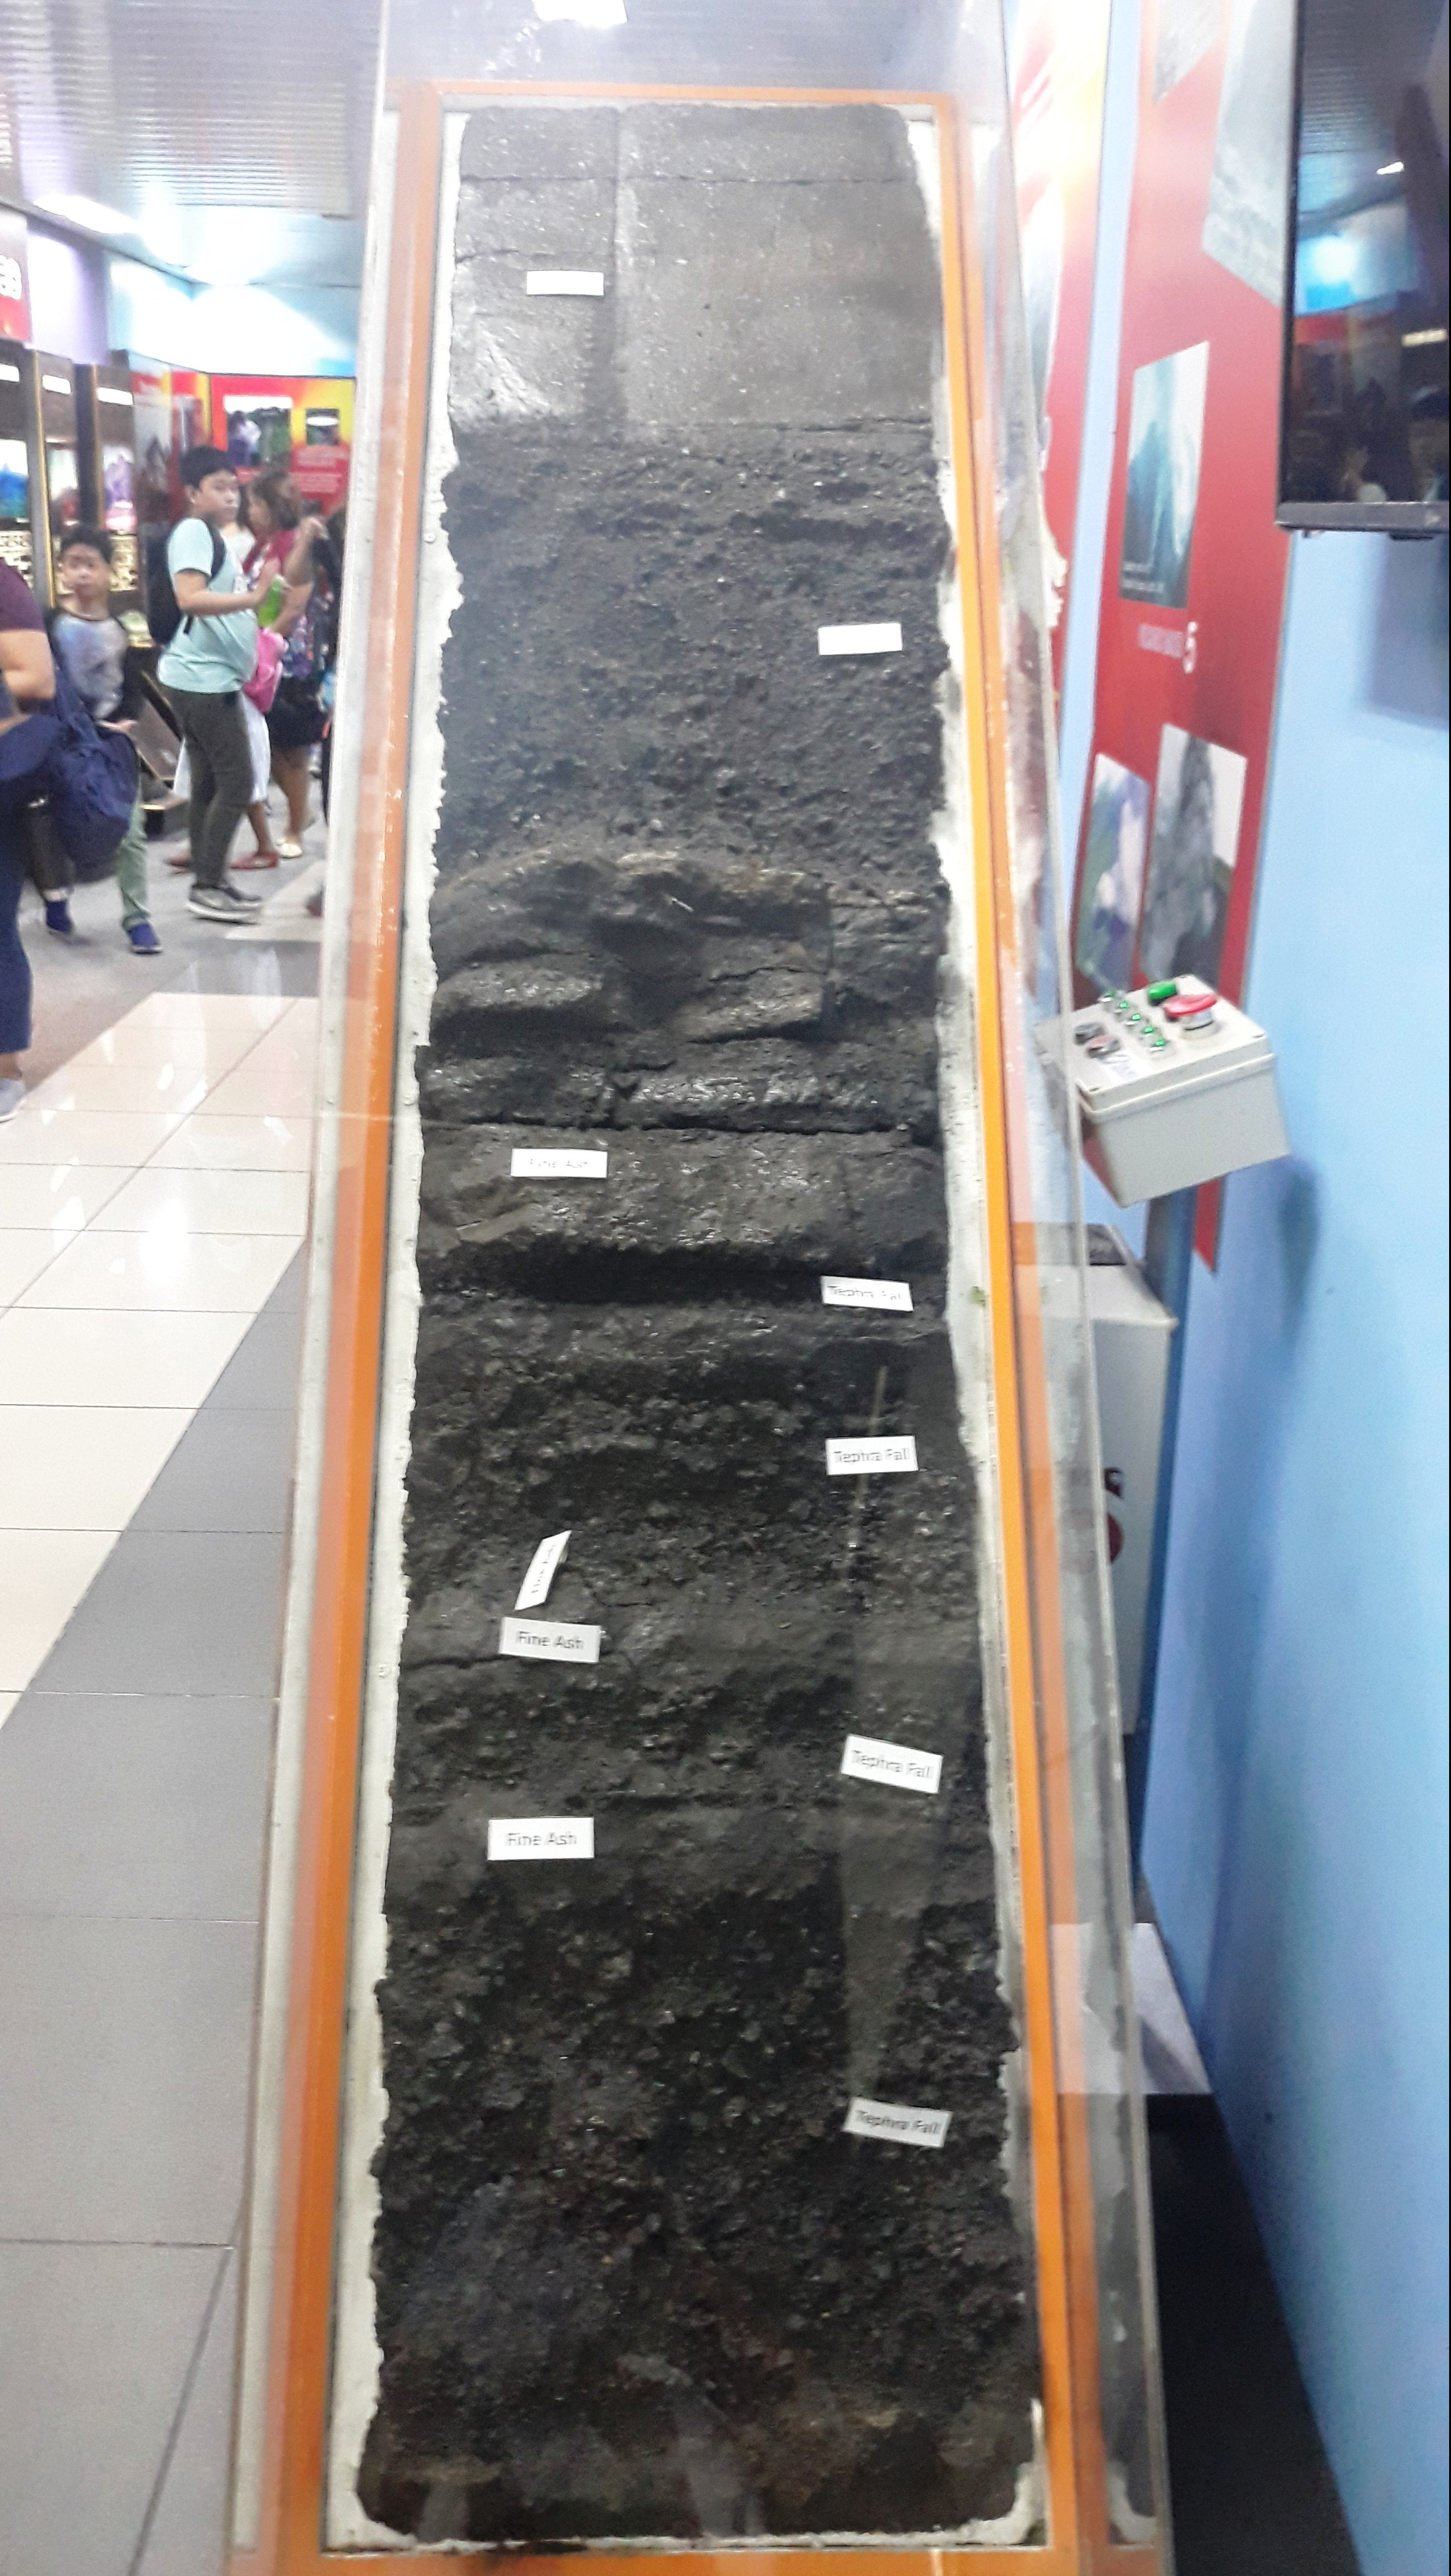
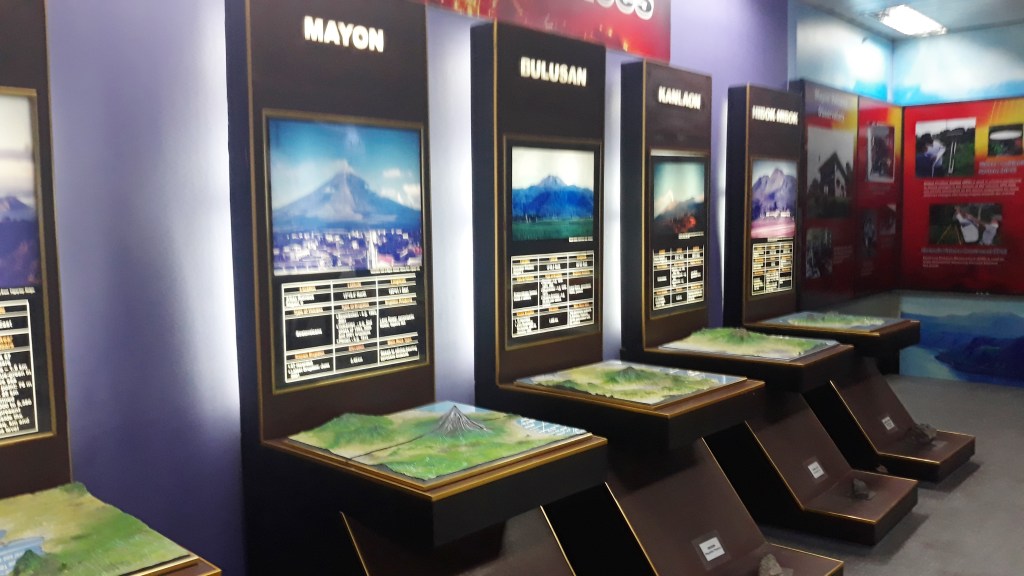
- Visit their museum at the ground floor where on display are information about the most active volcanoes in the country, different rocks obtained from volcanoes, infographic posters, rock layers, and more.
- Experience different intensities of earthquakes using their Earthquake Simulator which can accommodate up to 10 young kids or 5 full-grown adults at a time. You need to request for this specifically as this does not go with the tour by default.


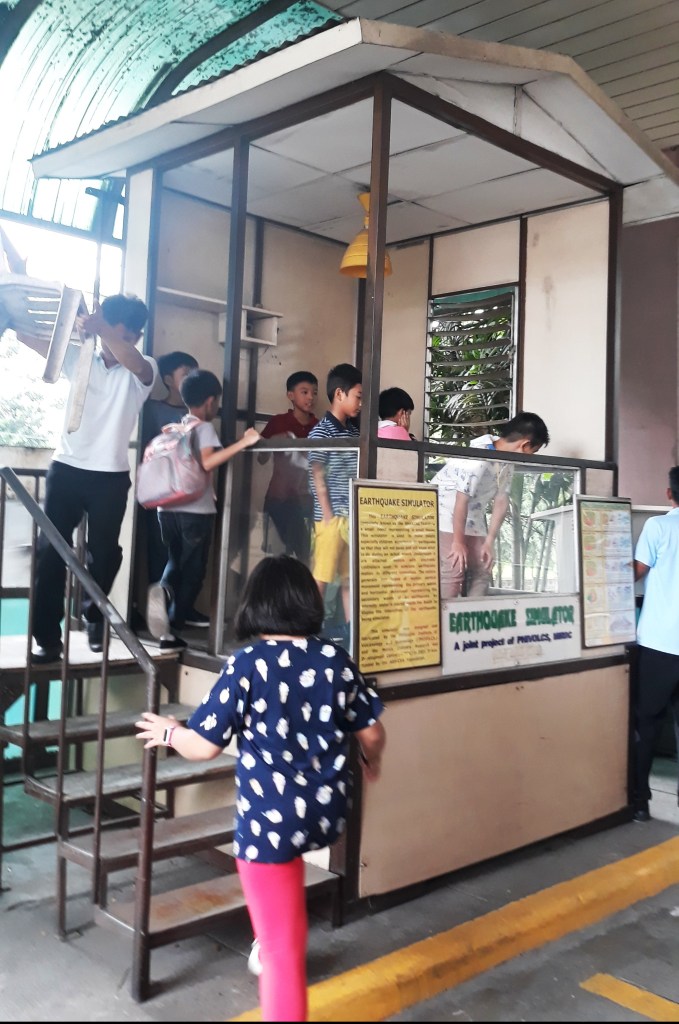
And guess how much you would need to pay PHIVOLCS to experience the simulator, visit their museum, and watch and learn about the different geologic hazards? Only 5 pesos!!! If this isn’t getting the bang for your buck then I don’t know what is. 😉


Our next stop for the Science Tour was PAGASA’s Planetarium which is an old round-shaped building along the BIR Road within the agency’s Science Garden. The Planetarium can accommodate up to 100 participants. A projector stands in the middle of the round AVR that is connected to the computer of the operator. From the computer, an interactive sky map is projected onto the dome-shaped ceiling. You need to look up and listen to the operator while some of the sky’s notable features are shown and explained. The entrance to the Planetarium is only Php 25! I couldn’t get any more photos as the kids and I were enjoying the sky map so much.
Our third and final stop was the media center of PAGASA’s Weather Department where meetings between meteorologists and representatives of the media are usually held. A speaker was assigned to us to introduce the roles of meteorologists in the society and how the weather conditions are predicted. Each participant was also able to take home a Rainfall Warning System poster each to bring to our homes.

For one whole day, my kids and their peers learned about volcanology, seismology, geologic hazards, weather patterns, meteorology, and viewed the sky map for only Php 30 pesos. If that isn’t “sulit” (a good deal), then I don’t know what is. 🙂
Discover more from The Fabulous Scientist
Subscribe to get the latest posts sent to your email.

2 thoughts on “How to Take Your Kids to a Science Tour for Less”