
Friday is usually Art Day in our homeschooling weekly schedule. But on the first week of this year which happens to be their daddy’s birthday week, we decided to do art two days earlier by painting watercolor cards for him. So instead of the usual watercolor painting for Art Day, we decided to make soaps and get crazy decorating it (so it still is art).
Soap making wasn’t what I had in mind for their first week. But when I noticed that Ian and Nereus enjoyed our experiment during their science lesson about “Reversible and Irreversible Reaction” I decided to include soap making in their activity. Soap making is one practical way of showing the concept in my opinion. Furthermore, this activity can demonstrate the science concept and can also be included list of his performance tasks for Home Economics and Livelihood Education (HELE) subject. We also got crazy and put dried flower buds and essential oils in the soaps to make it a little artistic and aromatherapeutic (if you don’t know, I studied aromatherapy in 2019). So that’s three subject in one project – add history by discussing how our ancestors made soaps in the old days. 😉

To help the kids learn the chemistry of saponification, a process that converts fatty oils into soaps with the help of lye, we went to SkillShare to look for lessons about it. SkillShare is an online platform for learning skills in digital marketing, art, writing, photography, etc. I use Skill Share to further develop my skills in watercolor, Procreate, and sketching but it was my first time to use the platform for practical lesson such as soap making. Luckily I found one teacher that teach about cold process soap making who also explains the concept and process of saponification.
We watched the teacher show the whole process from melting the lye flakes in water (an exothermic reaction thus, a thermometer was required) to mixing the lye solution with mixture of oils after the right temperature was achieved. She then showed how to know when saponification is starting to happen by observing the change in the viscosity of the lye and oil mixture – the start of irreversible chemical reaction.
We all watched the video in order for the kids to understand how soaps are made, primarily. For our activity however, we used melt-and-pour soap base for safety reasons and also because cold process method of soap making does take 4-6 weeks to complete, if you include the curing time.
Here are our materials for making “Coconut Lavender Soap” using melt-and-pour soap base:
- Coconut soap base (~250 grams)
- Avocado oil (1 teaspoon), you can substitute with olive oil, coconut oil, or grapeseed oil
- Lavender essential oil (5 drops) – we use only Young Living essential oil
- Dried flower buds (lavender + calendula)
- Silicon molds
- Isopropyl alcohol in spray bottle
- Pan and glass jars (as alternative to double boiler)
- Stirrer
- Safety face shield, apron, and heat-resistant gloves
- Electric stove (for better temperature control)


Method:
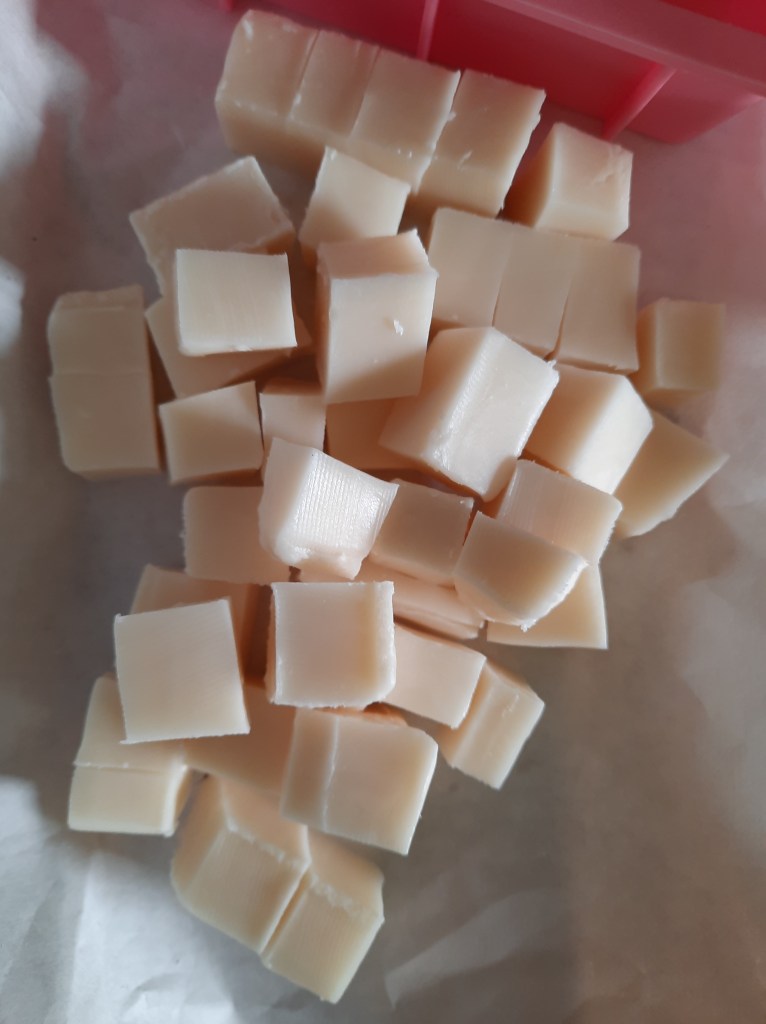
- After finishing the SkillShare lecture, I proceeded to cut the soap base into small cubes. I made sure that the cubes are almost the same in size to ensure even melting. The kids prepared most of the raw materials and tools on the table.
- We then turned on the stove and boil some water (half full) in a pan. As soon as the water simmers, we added the glass jars into the water and added in the cubes of base soap.
- We stirred the soaps until fully melted. We didn’t allow the soap to burn by adjusting the stove to lowest temperature.
- Once the soap base was fully melted, we let it cool a bit, and then added a teaspoon of avocado oil and five drops of pure lavender essential oil.
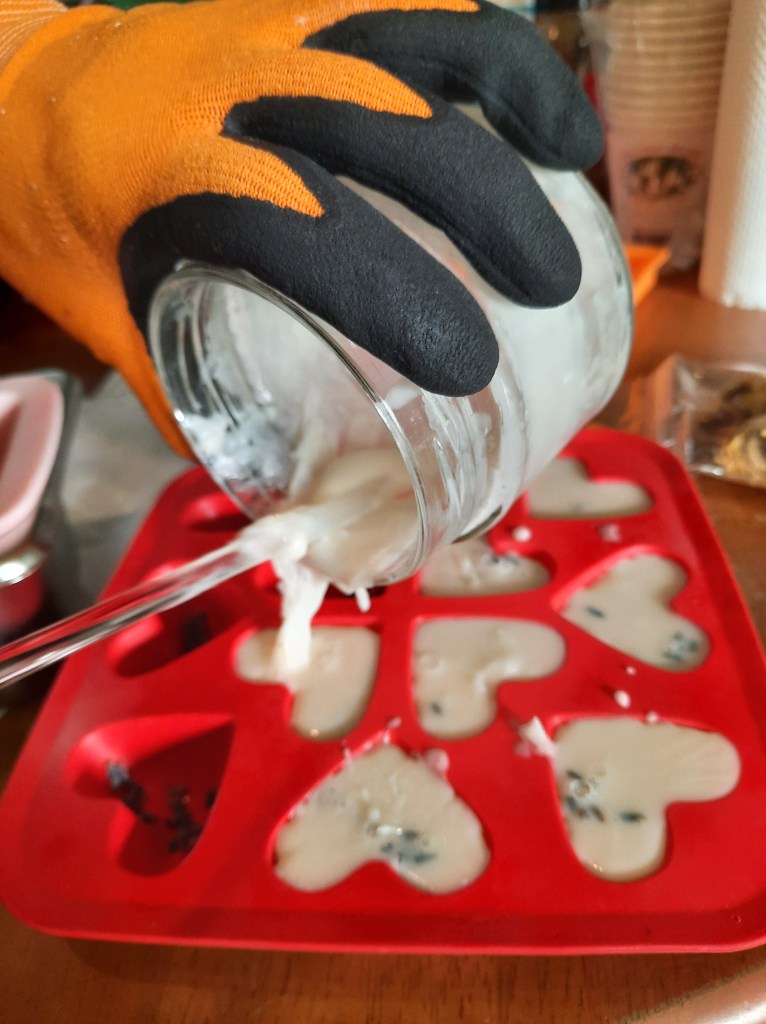
- While I stirred the soap and additives, the kids sprinkled the flower buds on the bottom of the silicon molds. We had two mold shapes – rectangular and heart-shaped. They then sprayed some isopropyl alcohol on the mold to ensure that the soaps will release easily once solid.
- We each took a turn in pouring the soap into the mold using the glass rod to help control the flow of the liquid soap.
- We then covered the soaps with waxed paper and stored in a cool, dry spot of our home to protect from dust and heat.


We are currently using the soaps we made for when we take a shower and wash our hands. They don’t sud as much as regular soaps you find in supermarkets but they do smell good and not drying to the skin. Nereus’ next task for HELE is to compute the cost of raw materials we used and find out how much we should sell the soaps if we do decide to sell them. My kids definitely enjoyed making their own soaps! Next time, we’ll make colorful soaps, lotion bars, bath jellies, and bath bombs!

Shameless plug, but I also dabble into essential oils, and have even studied aromatherapy 2 years ago. As member of Young Living and leader for Oilista Manila, I do earn commissions whenever I sign-up a new member, which helps pay for this website to keep it running.
If you would like to learn how to make the soap, lip balms, bath bombs, bath salts, etc., I’m conducting a “Make and Take Beginner Class” this coming January 16, 3 PM via Zoom. This is open to members of Young Living under my team Oilista Manila. If you aren’t a Young Living member yet, do get in touch with me. Or you may sign-up through me using the link below:
https://tinyurl.com/oilistamanila
Once you are on the website, do choose your country, language, and input my ID number: 12647452 as Enroller and Sponsor. Kindly shoot me an email to let me know that you have signed up successfully so I could include you in my online event and support group. Let’s keep in touch!
Discover more from The Fabulous Scientist
Subscribe to get the latest posts sent to your email.

3 thoughts on “Teach HELE, Science, and Art in One Project – Soap Making”