

My youngest son is currently enrolled in a hybrid homeschooling program combining parent-led learning with teacher-guided instruction. He attends online webinars with teachers and classmates, but I supervise half of his education, allowing us to follow our own pace and schedule. While he adheres to the curriculum set by the Department of Education in the Philippines through his homeschooling provider and teachers, I also have him participate in extracurricular activities, such as taekwondo and piano lessons. Some days, we go on nature walks to identify birds and trees. Even just by looking out the window at a nearby tree, we get to bird-watch almost every day. Once, while Ian was practicing a piece on his electric keyboard, the singing of several birds outside our window interrupted him. Instead of stopping, Ian continued to play, and it felt as if the birds were dancing to his music. The birds were a family of yellow vented bulbul.
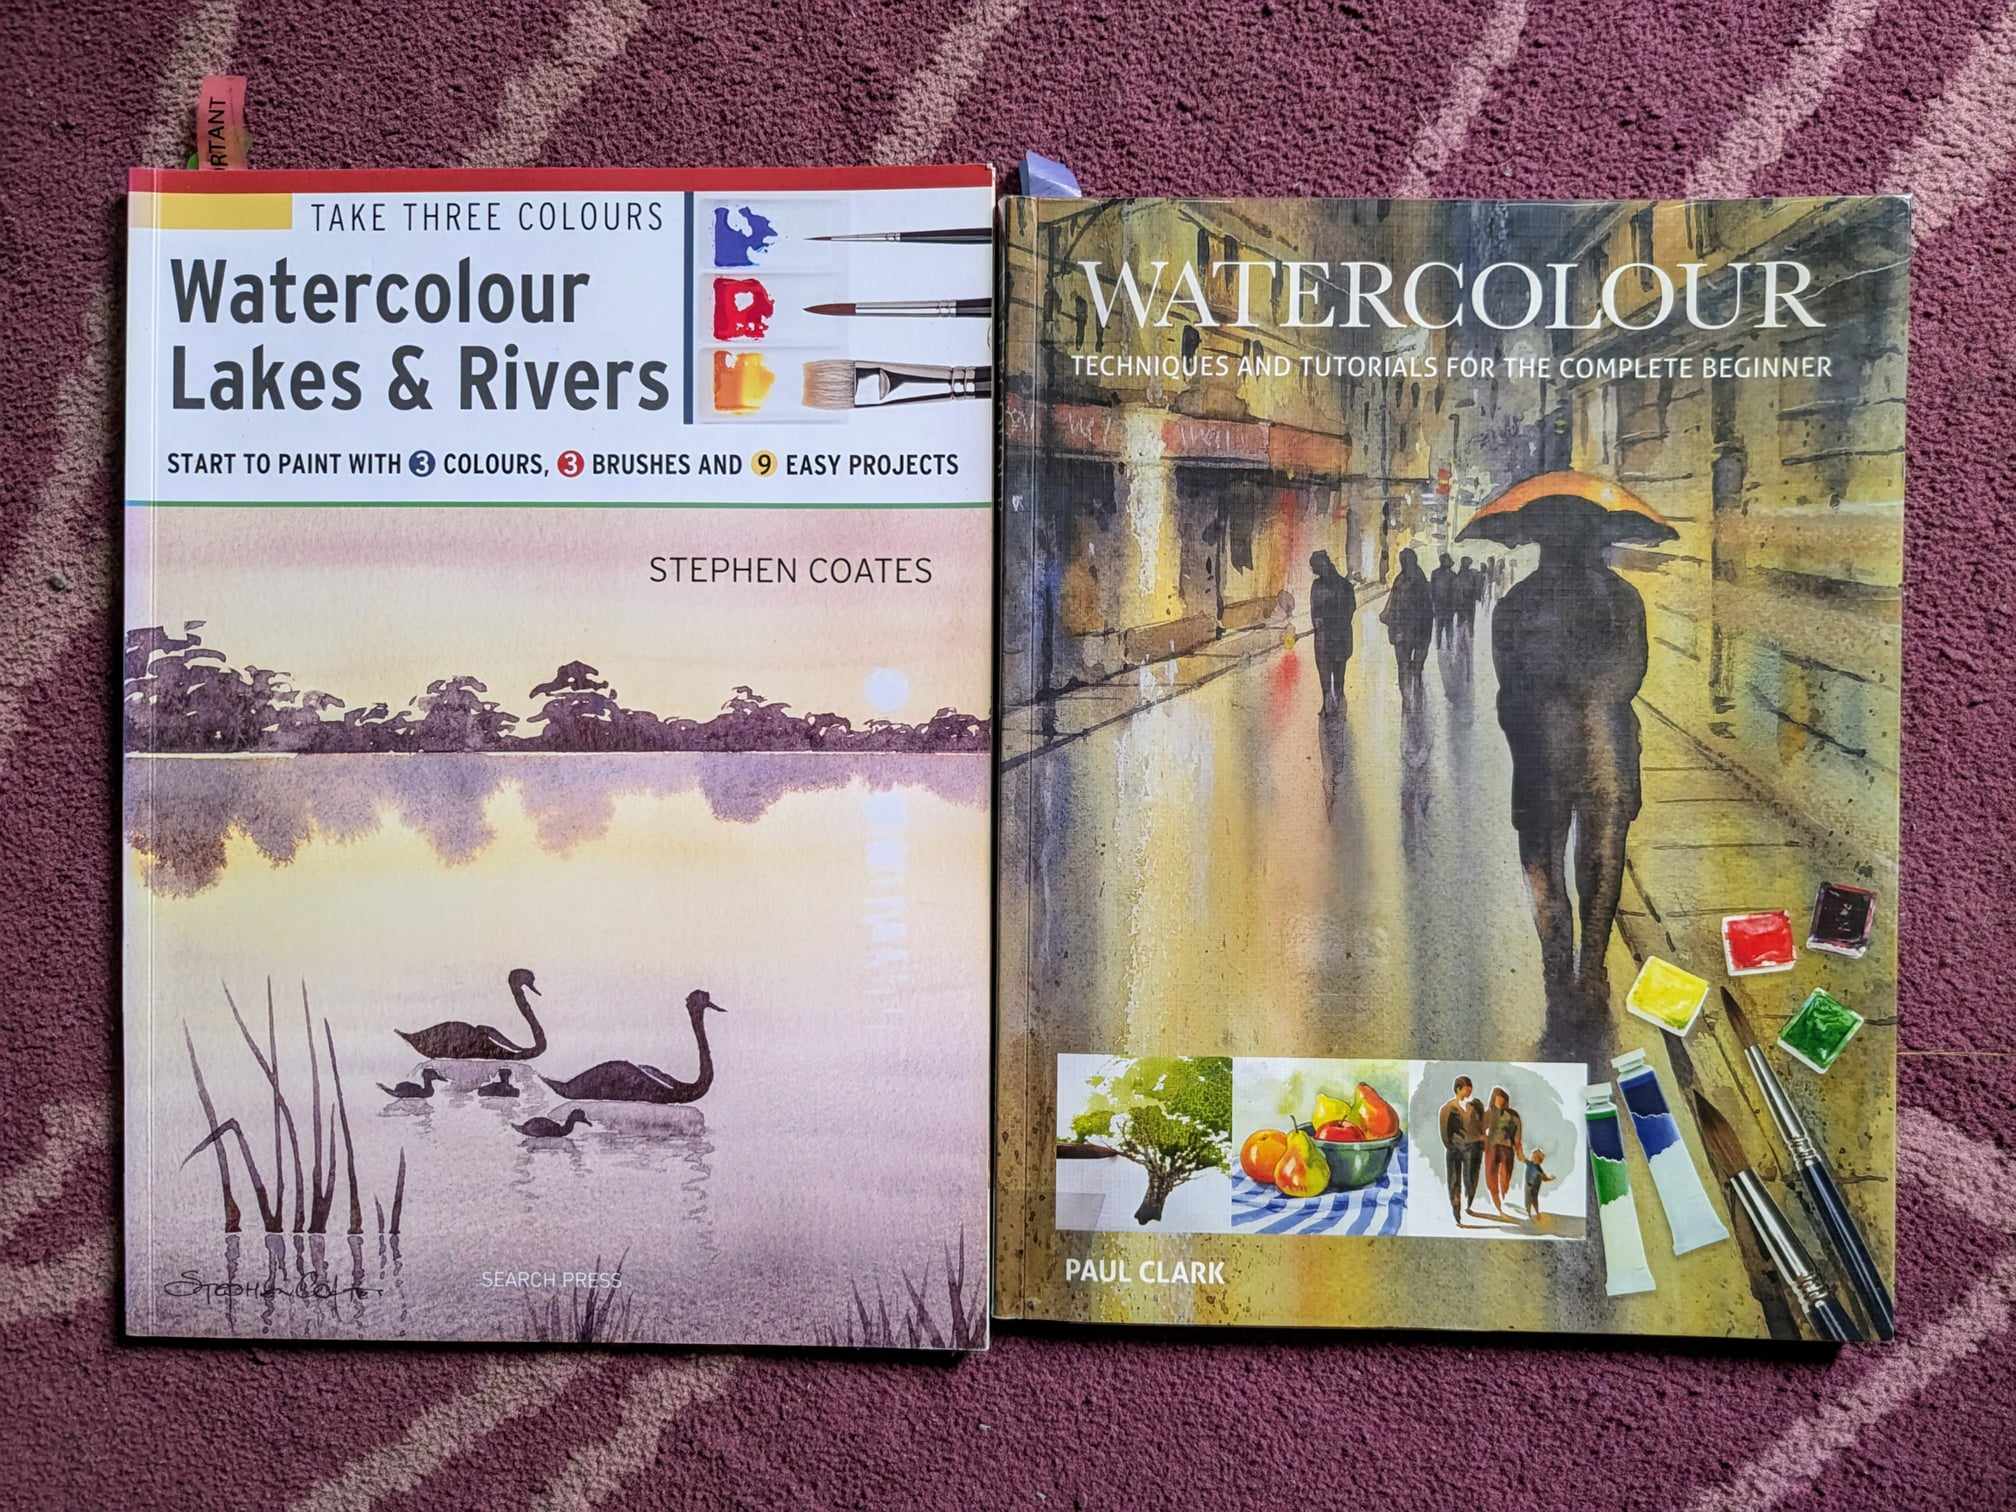
On some days, we enjoy creative time together by painting in watercolors and writing. To reinforce the lessons he learns from his teachers and books, we conduct experiments, which help bring concepts to life. I especially enjoy activities that integrate multiple subjects, like combining art, language, and math. For example, to strengthen his English vocabulary and reading comprehension while exploring art and mathematical concepts (e.g., water to paint ratio, color mixing fractions), we follow watercolor lesson books written in English, such as Watercolor Lakes and Rivers by Stephen Coates and Watercolour Techniques and Tutorials for the Complete Beginner by Paul Clark (photo below).
In this blog post, I’m going to talk about an activity that we did recently together – handmade watercolors. But first, what are watercolors?
Watercolors are a type of paint that is made by mixing pigments with a water-soluble binder, typically gum arabic. When diluted with water, the pigments are suspended in the liquid, allowing the artist to create translucent layers of color. Watercolors are known for their lightness, fluidity, and ability to create soft gradients and washes.
The basic components of watercolor paints include:
- Pigment: The colored material, which can be natural or synthetic. Pigments give watercolor its hue.
- Binder (Gum Arabic): Gum Arabic is a natural gum made from the hardened sap of certain species of the Acacia tree, primarily Acacia senegal and Acacia seyal. It has been used for centuries in a wide range of applications, including art, food, and medicine. In watercolors, gum arabic acts as the primary binder, holding the pigment particles together and helping the paint adhere to the paper. It dissolves easily in water, making it ideal for creating water-based paints. Gum arabic gives watercolor its characteristic transparency and luminosity by allowing light to pass through the paint layers.
- Additives: These can be used to improve the paint’s texture, control drying time, or enhance color brilliance. Some additives that are commonly used are glycerin, honey, surfactants, preservatives, and/or ox gall. Each additive has its own function, such as mold growth retarder (or as a preservative), wetting agent, or humectant.
- Solvent (Water): Water acts as the vehicle to thin the paint and spread it on the paper.
Materials and Ingredients for Homemade Watercolors
I recently learned how to make watercolors during a virtual demo at the Watercolor Convention hosted by the Philippine Guild of Watercolorists. The session was led by Iana Forbes, one of the artists behind the local brand Quiversmiths. Quiversmiths has become one of my go-to online sources for handmade watercolor journals and ceramic palettes. Iana’s recipe is quite simple – to make the watercolors she used pigments, distilled water, honey, and gum arabic powder. According to her, the liquid components have to be added a drop at a time and the ratios would vary from pigment to pigment. In a nutshell, making your own watercolors entails experiments with the ratios of the ingredients as well as testing the paint by swatching on watercolor paper.

For our homemade watercolors, my son and I used the same ingredients suggested by Iana, but we also added vegetable glycerin and a drop of clove essential oil for every teaspoon of pigment. Vegetable glycerin acts as a wetting agent, resulting in a creamier watercolor, although this addition is optional. The clove essential oil, along with honey, serves as a preservative to help prevent mold growth.
Instead of professional-grade dry pigments, we chose to use high-quality food coloring since my son is too young to handle professional pigments, some of which can contain heavy metals. To ensure safety during the activity, we also wore masks and gloves as personal protective equipment.
To make the watercolors, we started by measuring a teaspoon of food coloring powder and placing it on an acrylic slab (a glass slab or old windowpane also works well). Next, we added an equal amount of gum arabic powder. After thoroughly mixing the powders, we created a small well in the center and added 3 drops of honey, 2 drops of glycerin, 1 drop of clove essential oil, and about 5 drops of water.
We mixed all the ingredients together using a plastic bread knife, though an artist’s palette knife can also be used. To refine the pigments further, you can use a glass muller (or the bottom of a chalice) to grind the mixture in a circular motion, breaking the pigments down to their finest size and ensuring an even, smooth consistency (see video below). Since we don’t have a chalice or glass muller, we used the bottom of a Pyrex flask for this.
Once the mixture was thoroughly mixed, we checked the paint’s viscosity. If it feels too sticky or dry, we gradually add more water, one drop at a time, while mixing. The goal is to achieve a creamy, smooth consistency.
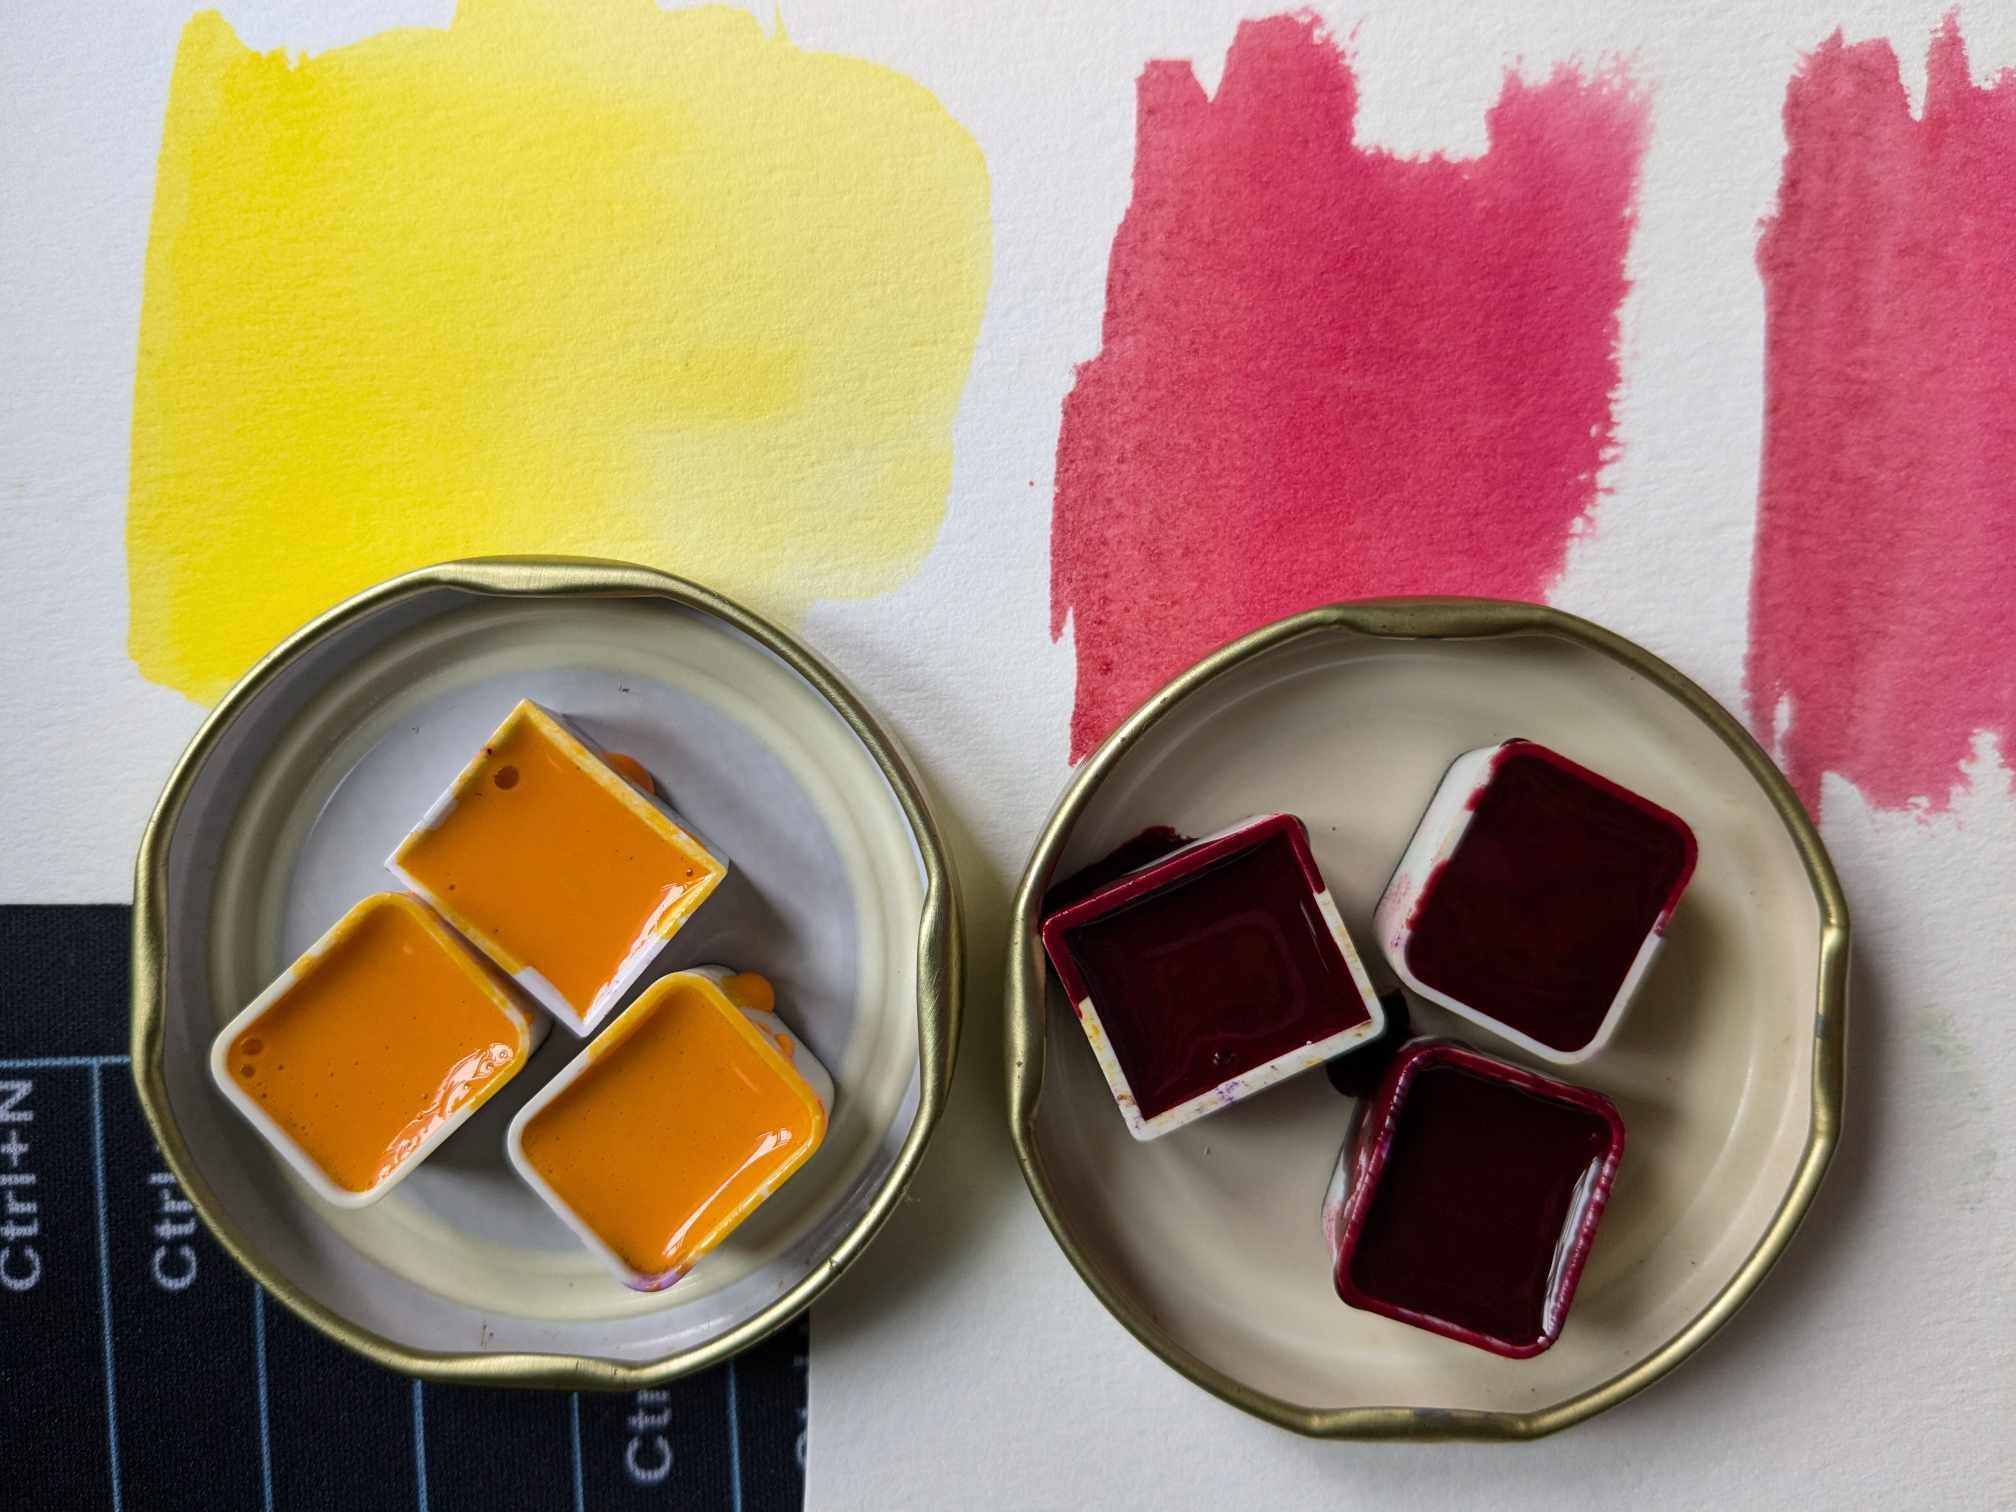
To test the paint, I got a small amount of the paint using a knife and got a clean brush. I then swatched the paint on watercolor paper. On the first try, the yellow was perfect – no solid grains visible, and easily moved with the wet brush on my paper. We had to refine the red paint two more times after failing the swatching test since, on the first try, there were still visible grains of pigment on the paper.
Key takeaways that homeschoolers can learn from this activity or project:
By making their own watercolors, kids can engage in hands-on learning about mixtures, ratios, and proportions. This activity demonstrates to both kids and parents how easy it is to create watercolors for art projects using everyday kitchen items. Although the watercolors made with food coloring powder aren’t lightfast like professional pigments, they are safe for children to handle and ideal for creating their own artwork. Just make sure to wear masks and gloves to protect you and your kids from possible inhalation of the powders.
The process also introduces concepts such as viscosity, color, transparency, and opacity, adding an educational layer to the fun. Additionally, this project offers an opportunity for kids to learn about reusing empty caps and jars for their pigments and paints, as well as the differences between solutes and solvents. They can also explore how the manual movement of the muller or chalice helps break down pigment grains for a more homogeneous mixture. As an additional task, the kids can also explore mixing pigments; for example, try mixing yellow and red to produce orange, or all three primary colors to produce brown or black paints. The possibilities are endless with this project!
I can confidently say that this project beautifully blends art and science, which is the essence of what this blog is all about! Hope you like this project and if you have questions or would like to show your own watercolors, do share them in the comments section. ❤
xoxo,

Reference:
Discover more from The Fabulous Scientist
Subscribe to get the latest posts sent to your email.
