
As I mentioned in my previous article, I’ll be offering free beading classes next month. In this blog, I’ll go over the supplies needed for making simple drop earrings – which is going to be the first lesson you’ll learn from me next month.
If you’ve signed up for the class but aren’t familiar with how to use the tools I’ll be discussing, I highly recommend watching the video below. In it, I demonstrate how I created a complete jewelry set—including a pair of earrings, a bracelet, and a necklace—which will give you a great introduction to the techniques we’ll be using.
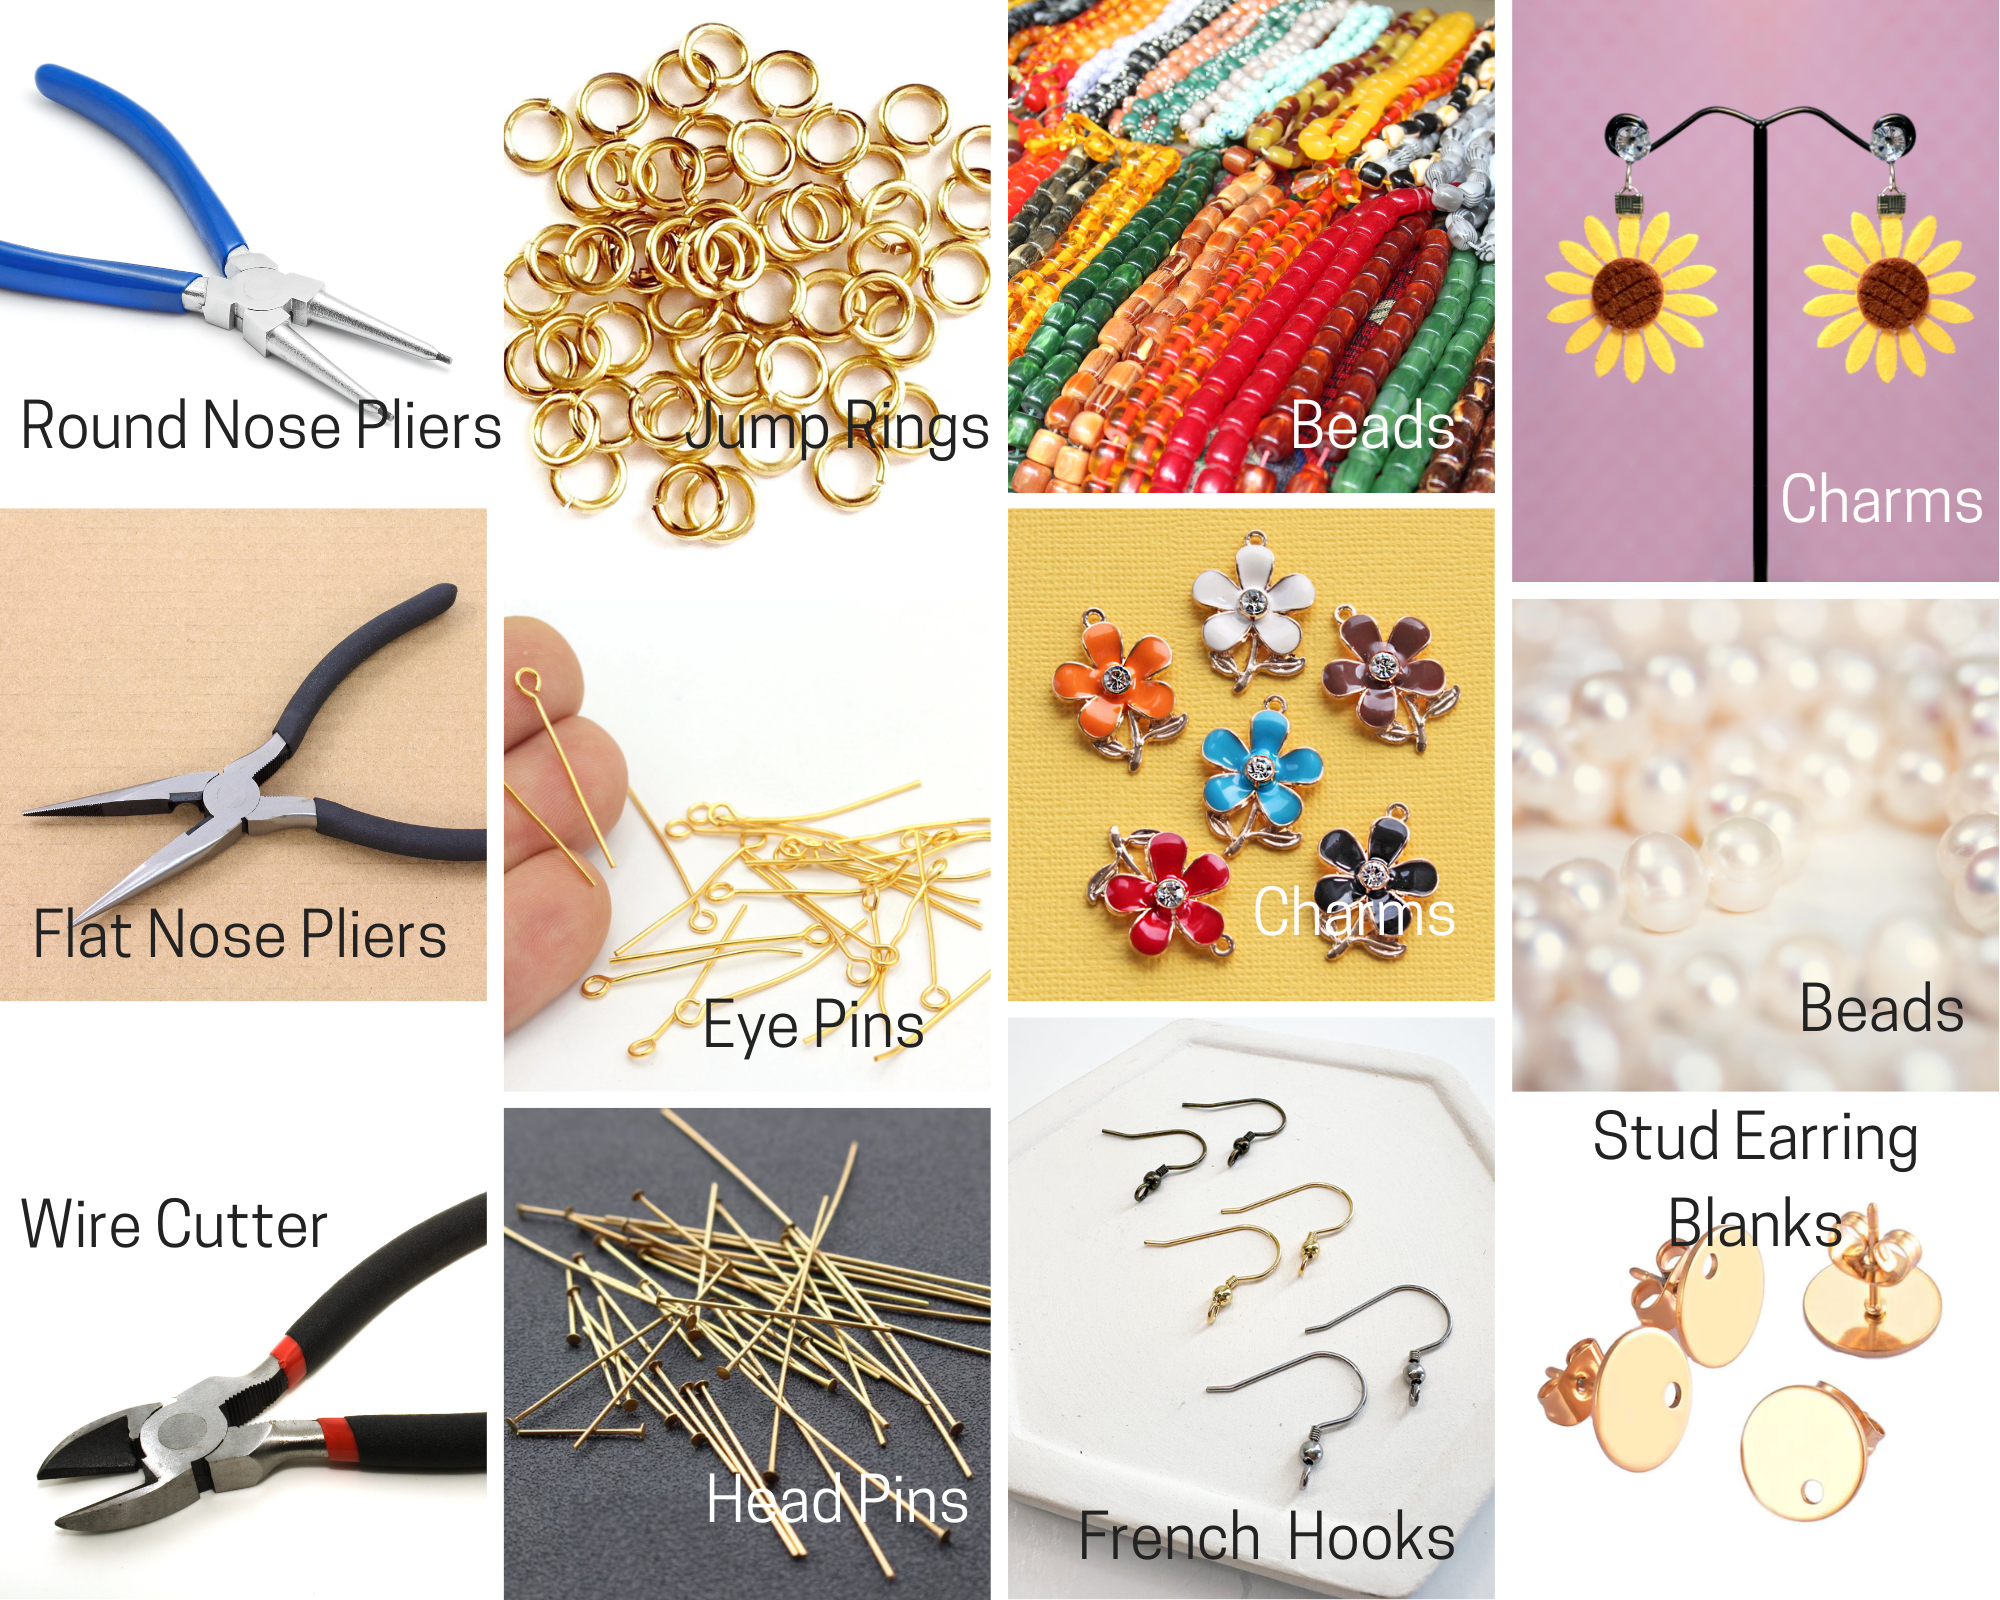
To make a pair of earrings, you’d need the following supplies and tools, as shown in the photo collage below:
Tools:
- Round Nose Pliers – These pliers have smooth, rounded tips and are essential for making loops in wire. They help in forming perfect circles when working with head pins, eye pins, and jump rings. They’re especially useful for creating wire-wrapped loops for a more secure earring design.
- Wire Cutter – This tool is used to cut wires, head pins, eye pins, and excess jump rings. A good-quality wire cutter ensures clean cuts without damaging the wire, which helps in making polished and professional-looking earrings.
- Flat Nose Pliers – These pliers have flat, smooth jaws that help grip wires, open and close jump rings, and flatten crimps. They are useful for holding and positioning small components while assembling earrings. They also help in straightening wire for a neat finish.
Findings:
Please ensure that all your findings match in color for a cohesive look. For example, if you’re making gold drop earrings, use gold-tone findings throughout. The same applies to stainless steel, brass, copper, or silver finishes. In our class, you can choose just one metal finish for your project. I’ll be working with gold, but feel free to use any metal color you prefer—the techniques remain the same!
Stud Earring Blanks – These are flat-backed earring bases designed for making stud earrings. They can be used to glue decorative elements such as cabochons, resin pieces, or small beads to create a variety of styles. They usually come with butterfly or silicone backings to secure them in place. To make a pair of drop earrings, you’d need ones with holes to hang the beads in place, just like in the photo collage above.
Jump Rings – These are small metal rings that can be opened and closed using pliers. They are commonly used to attach charms, dangles, or decorative elements to earring hooks. Properly closing a jump ring ensures that pieces stay secure and don’t fall off.
French Hooks – These are the standard earring hooks that go through the pierced ear. They usually have a small loop at the bottom where you can attach beads, charms, or decorative components using jump rings or wire loops.
Head Pins – These are thin metal pins with a flat or decorative end. They are used to string beads, which are then turned into dangles by making a loop at the opposite end. The flat end prevents the beads from slipping off.
Eye Pins – Similar to head pins, but with a small loop at one end instead of a flat end. These are great for linking multiple beads together, as the loop allows them to be connected to other components like chains or charms.
Charms – Small decorative metal, resin, or acrylic elements that add personality to earrings. They come in various shapes and designs, such as stars, leaves, flowers, or themed elements. Charms can be attached using jump rings or directly onto eye pins.
Beads – These are the main decorative elements of earrings. They come in different materials like glass, crystal, wood, gemstone, or acrylic. Beads can be used on head pins, eye pins, or strung on wire to add texture and color to the design.
Here’s a list of physical stores where you can buy your tools and supplies in the Philippines from Yelp:
I personally recommend Wellmansons and DIY Beads along Villalobos Street in Quiapo, Manila. These are my go-to stores from back in the day, offering a wide selection of beads, tools, and even ready-made accessories like bag charms, jewelry, phone charms, and hair accessories that you can resell.
They used to accept only cash payments, but they may now offer GCash or credit card options. To be safe, bring cash when you visit. Also, be mindful of your belongings, as Quiapo is known for pickpockets.
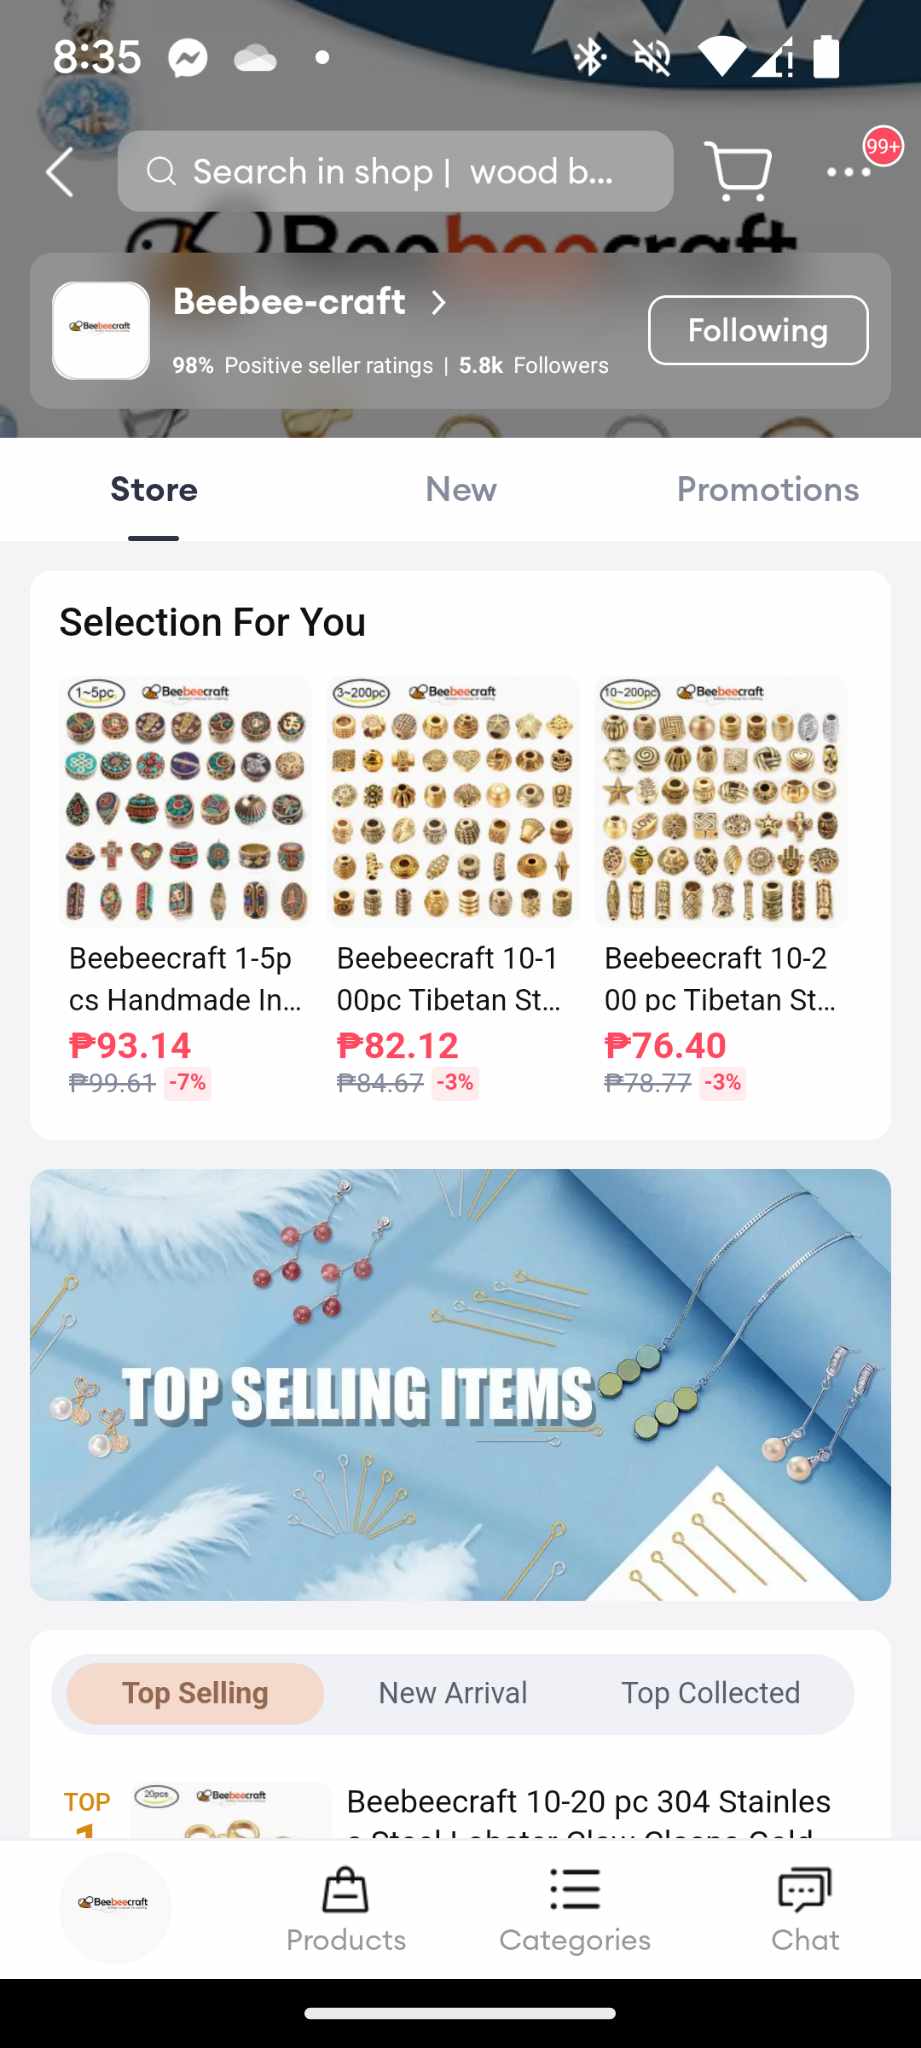
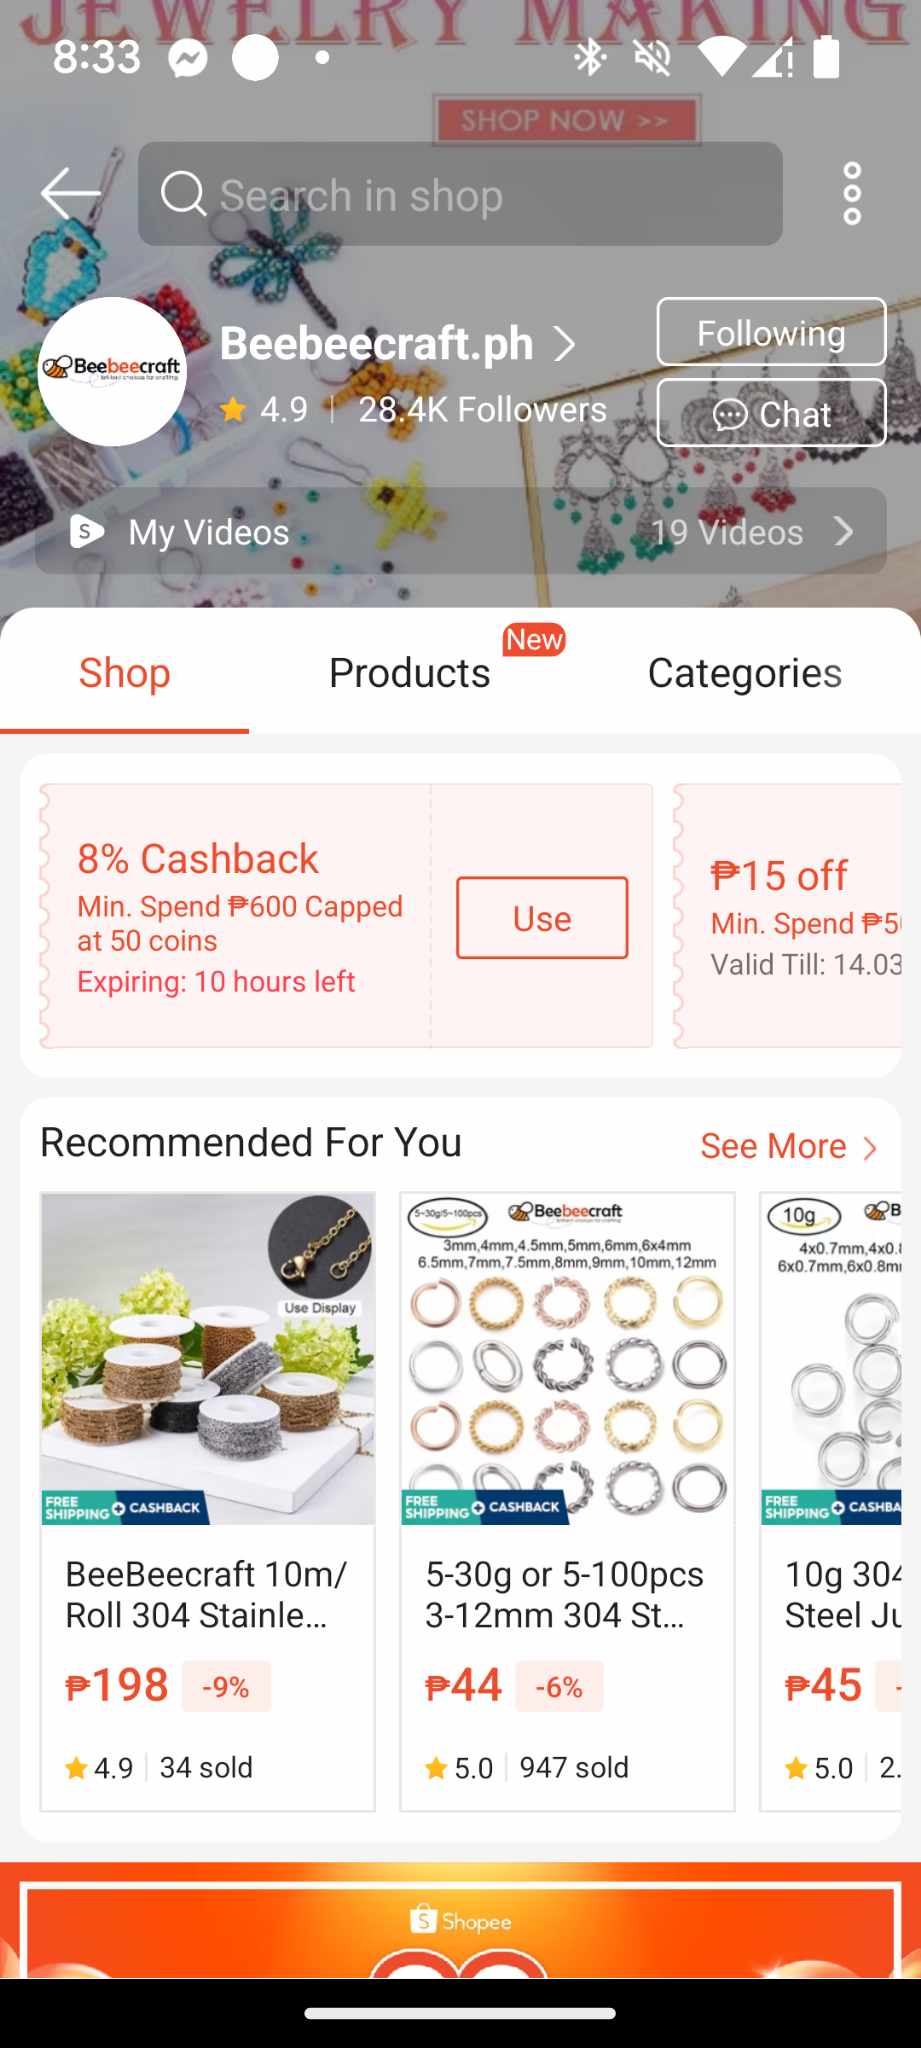
If you live far from Metro Manila, you might find local stores near you. But if not, I’ve also included screenshots of online stores where I’ve purchased supplies from the Orange and Blue apps—perfect for days when I’m too busy to go to Quiapo. Just search for these stores in the apps! 😊


Hope you find this article helpful in preparing you for my upcoming class, link below:
If you’d like to see some of the pieces I’ve made in the past, kindly visit my Artist Portfolio:
Thank you for reading and looking forward to crafting with you!
xoxo,
Grass
Discover more from The Fabulous Scientist
Subscribe to get the latest posts sent to your email.


