

Acrylic pouring is an exciting and dynamic painting technique that allows anyone—from complete beginners to seasoned artists—to create stunning, abstract works of art. Unlike traditional brushwork, acrylic pouring relies on the natural flow of paint, guided by gravity and a mix of color chemistry. This method produces mesmerizing patterns, organic color blending, and beautiful cell-like effects.
What makes acrylic pouring so enjoyable is its unpredictability; no two paintings will ever be the same. With a few simple tools and techniques, you can create breathtaking, fluid compositions without needing any prior painting experience. Whether you’re looking for a relaxing hobby, a way to explore color expression, or a new artistic challenge, acrylic pouring is an excellent place to start. Below is the presentation deck I made about Acrylic Pouring when I taught my lab mates at the National Institute of Physics, UP Diliman about this form of art:
Here are the most common pouring techniques I’ve tried on my personal projects:
1. Dirty Pour
In a dirty pour, multiple paint colors are combined into a single cup before being poured onto the canvas, creating unique and unpredictable patterns.
Acrylic Pouring: The 4 Basic Techniques (Part 1)
2. Flip Cup
The flip cup technique involves layering paints in a cup, placing the canvas on top, and then flipping both to allow the paint to spread across the surface.
Acrylic Pour Painting for Beginners: Dirty Pour Flip Cup Tutorial
3. Swipe Technique
This method entails applying paint to the canvas and then using a tool, like a spatula or paper towel, to swipe across the surface, revealing underlying colors and creating cell-like effects.
Swipe Technique – Acrylic Pouring Techniques
4. Puddle Pour
In a puddle pour, individual colors are poured sequentially onto the canvas, forming layered “puddles” that result in intricate designs as they spread and interact.
Puddle Pour Technique Tutorial
5. Dutch Pour
The Dutch pour technique involves applying a base layer of paint, adding colors on top, and then using air (like a hairdryer) to blow the paint, creating fluid, flower-like patterns.
Dutch Pour & Dirty Flip Cup Together! Two Techniques
And here are snapshots and Instagram reels of my recent projects, the first one is during a workshop where I taught my lab mates in UP the basics of acrylic pouring:
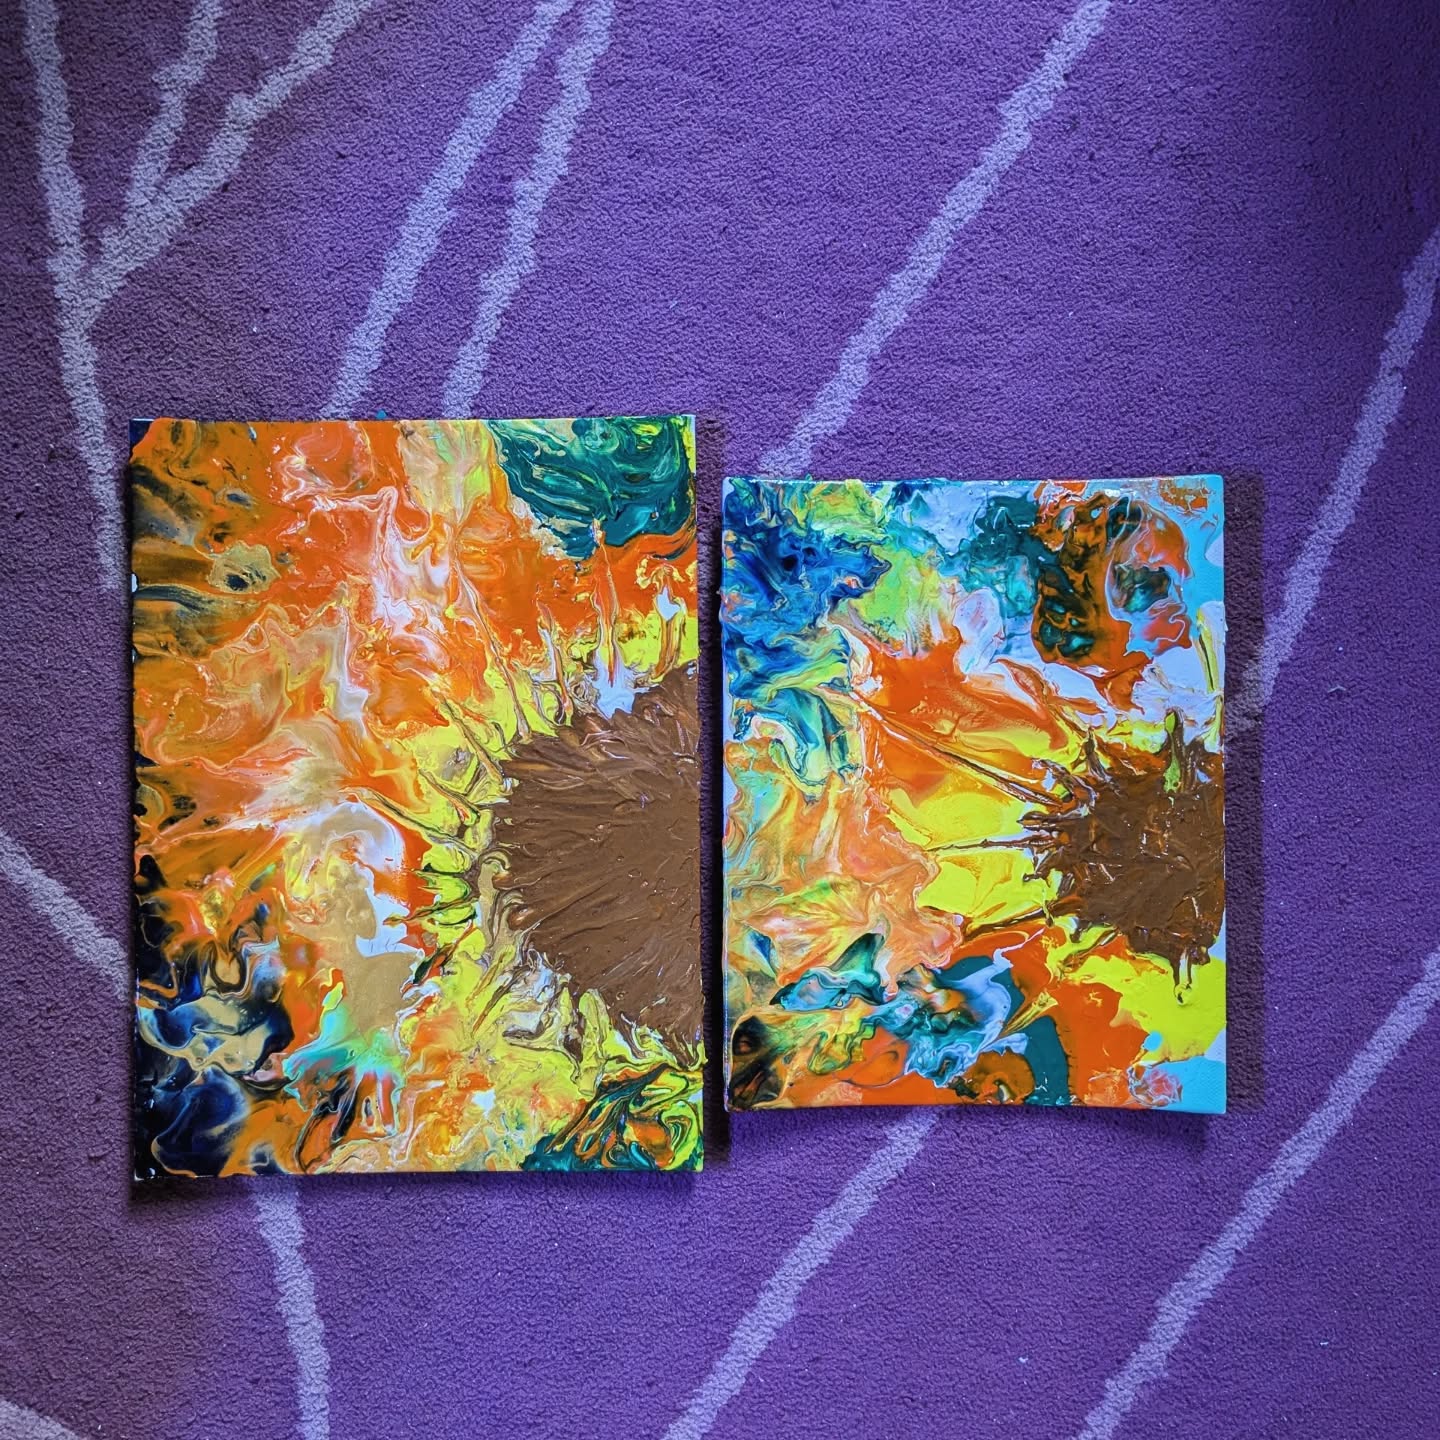
My youngest son noticed how much I enjoy creating earrings using the acrylic pour technique, so he asked me to teach him how to do it. Since acrylic pouring involves understanding the properties of acrylic paint—such as viscosity, transparency, density, and the ratio of paint to pouring medium—I saw the perfect opportunity to turn it into both an art and science activity. It became part of his homeschooling lesson for the day, blending creativity with hands-on learning.
Here’s a photo of our finished acrylic paintings:
Have you tried acrylic pouring? Let me know in the comments section!
xoxo,
Grass
Discover more from The Fabulous Scientist
Subscribe to get the latest posts sent to your email.
